
Teacher#
Who this guide is for#
This guide is for users with the global Teacher role. It covers everything you need from signing in to managing classes, content, grades, and memberships.
What you can do#
Create classes.
Manage members in assigned classes.
Create and order modules, lessons, and assignments.
Upload, reuse, publish, and unpublish materials.
Grade from the
Gradestab.Archive and unarchive classes.
Use the chat inside published lessons for your own work.
Important limits#
You cannot change global roles.
You cannot open Admin global settings unless you also have the Admin role.
You cannot view students’ private chats.
You cannot remove Admins from a class.
A class must always retain at least one active Teacher.
Getting started#
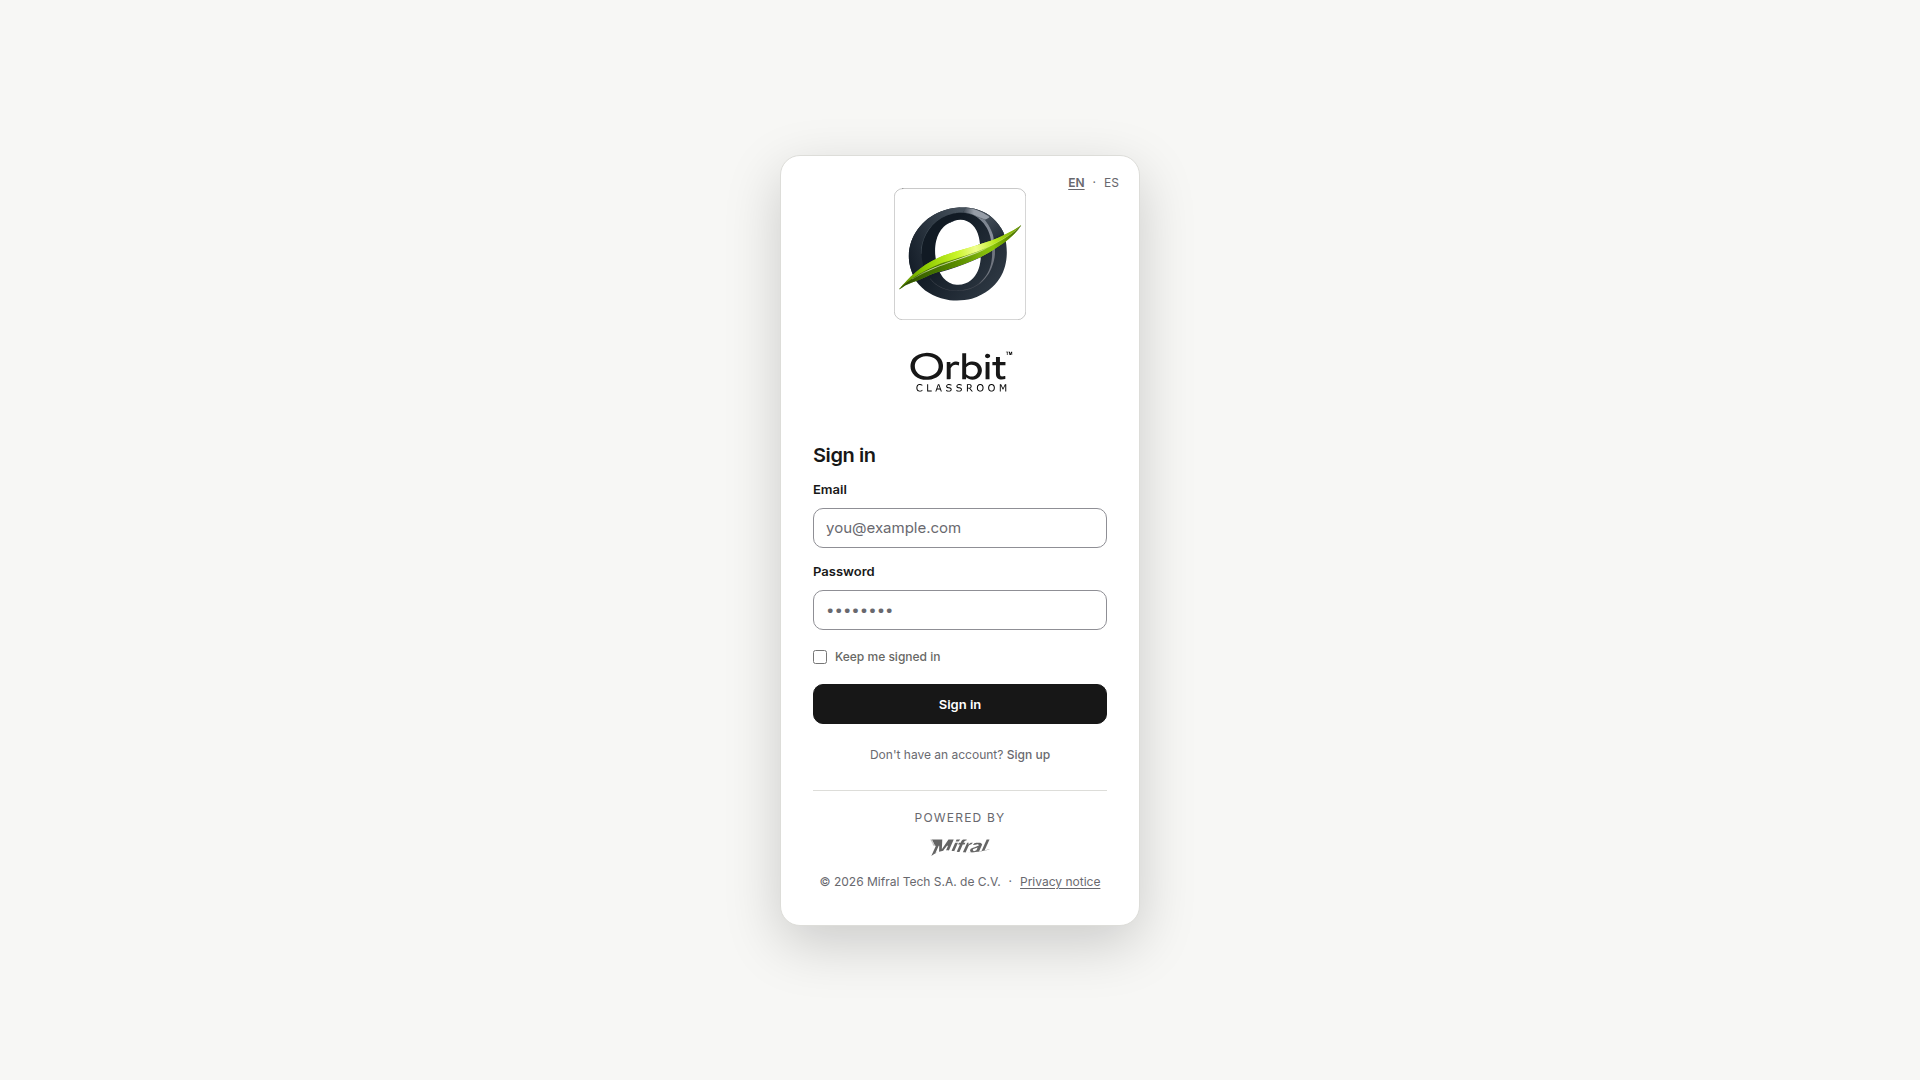
Task: sign in#
Goal#
Access the product with your account.
Before you start#
You need a registered email and password.
Steps#
Open the access screen.
Enter your email.
Enter your password.
Confirm access.
Expected result#
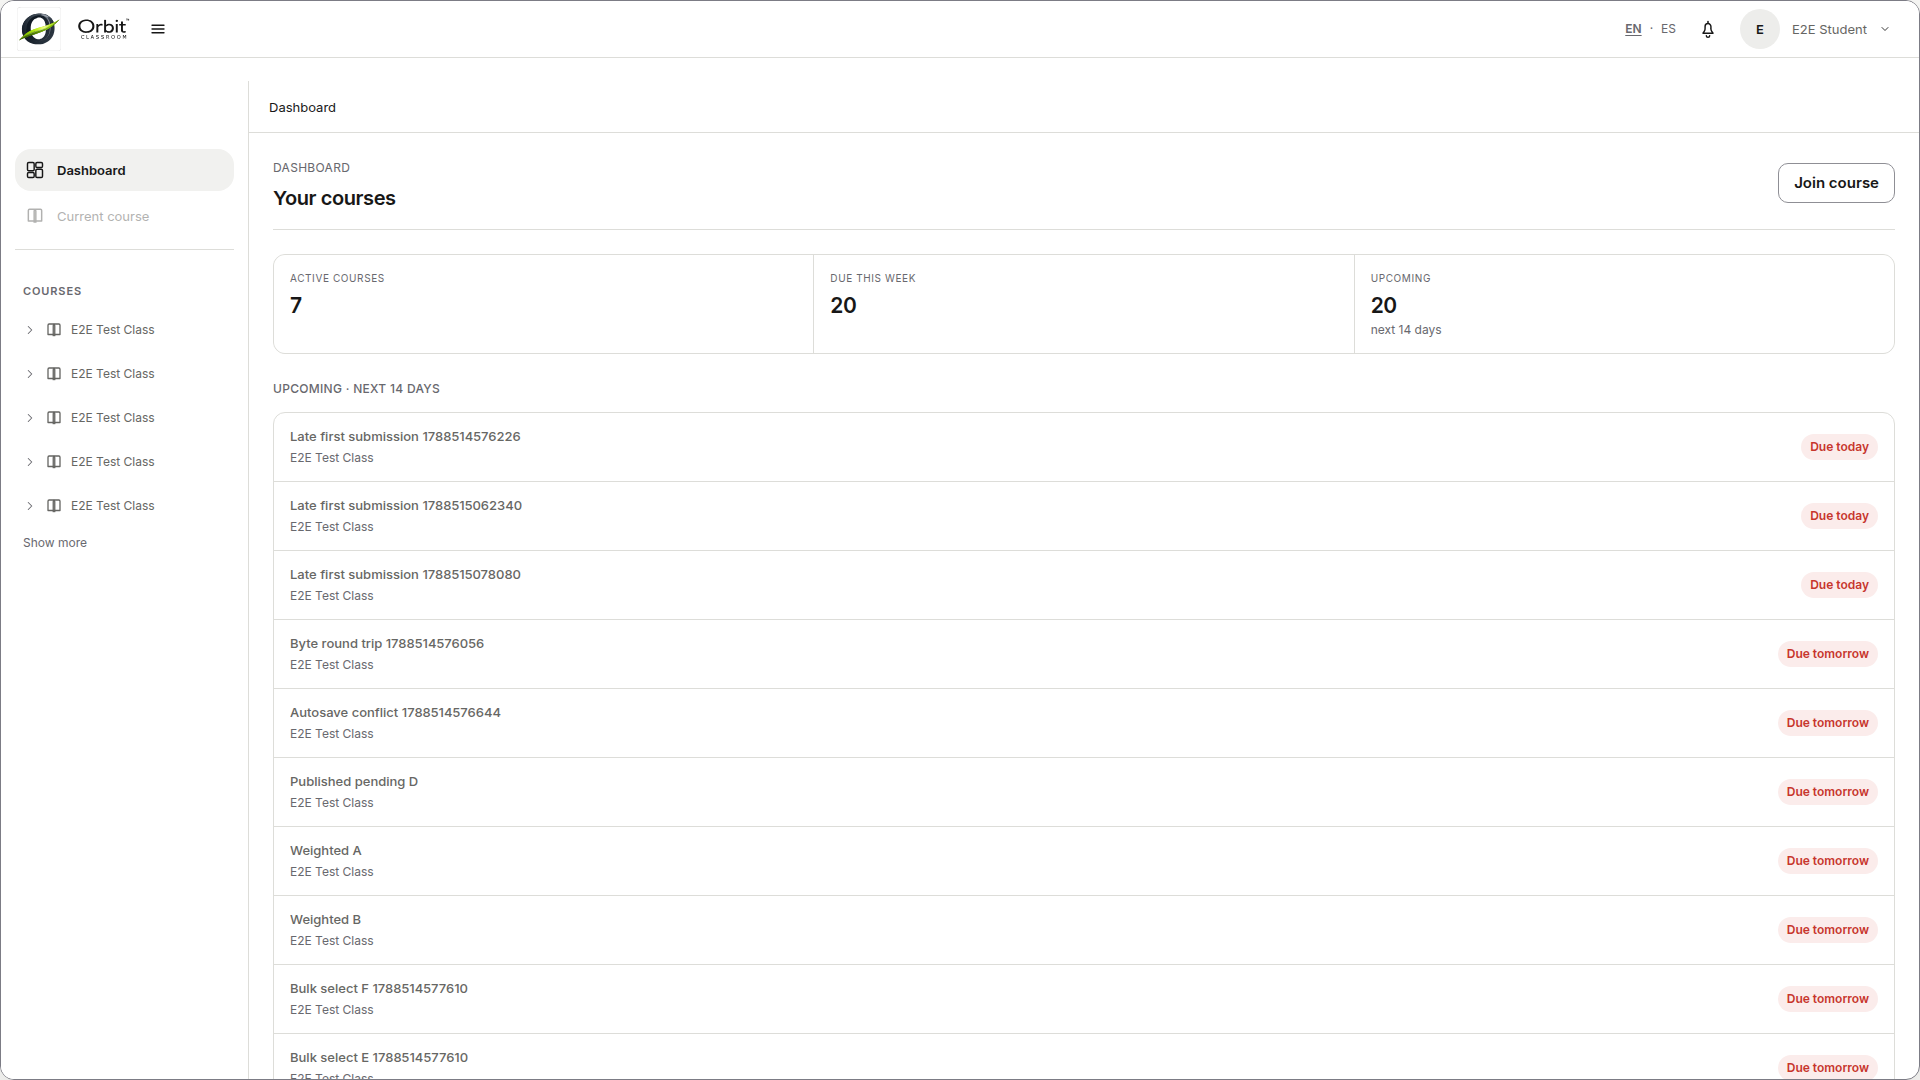
The system takes you to the dashboard with your Teacher role options.
Limits and notes#
v1 does not require email verification.
v1 has no password reset flow inside the product.
Task: confirm your role has changed#
Goal#
Verify that the Teacher role is now active on your account.
Before you start#
An Admin has already told you your role was assigned or updated.
Steps#
Sign out.
Sign in again with the same account.
Check whether you now see the dashboard and Teacher options.
Expected result#
Your Teacher role is active and you can create or manage classes from the dashboard.
Limits and notes#
Role changes do not take effect in the current session.
You must always sign out and sign back in.
Teacher cannot open Admin global settings unless they also have that role.
Navigating#
Task: go from the dashboard to a lesson#
Goal#
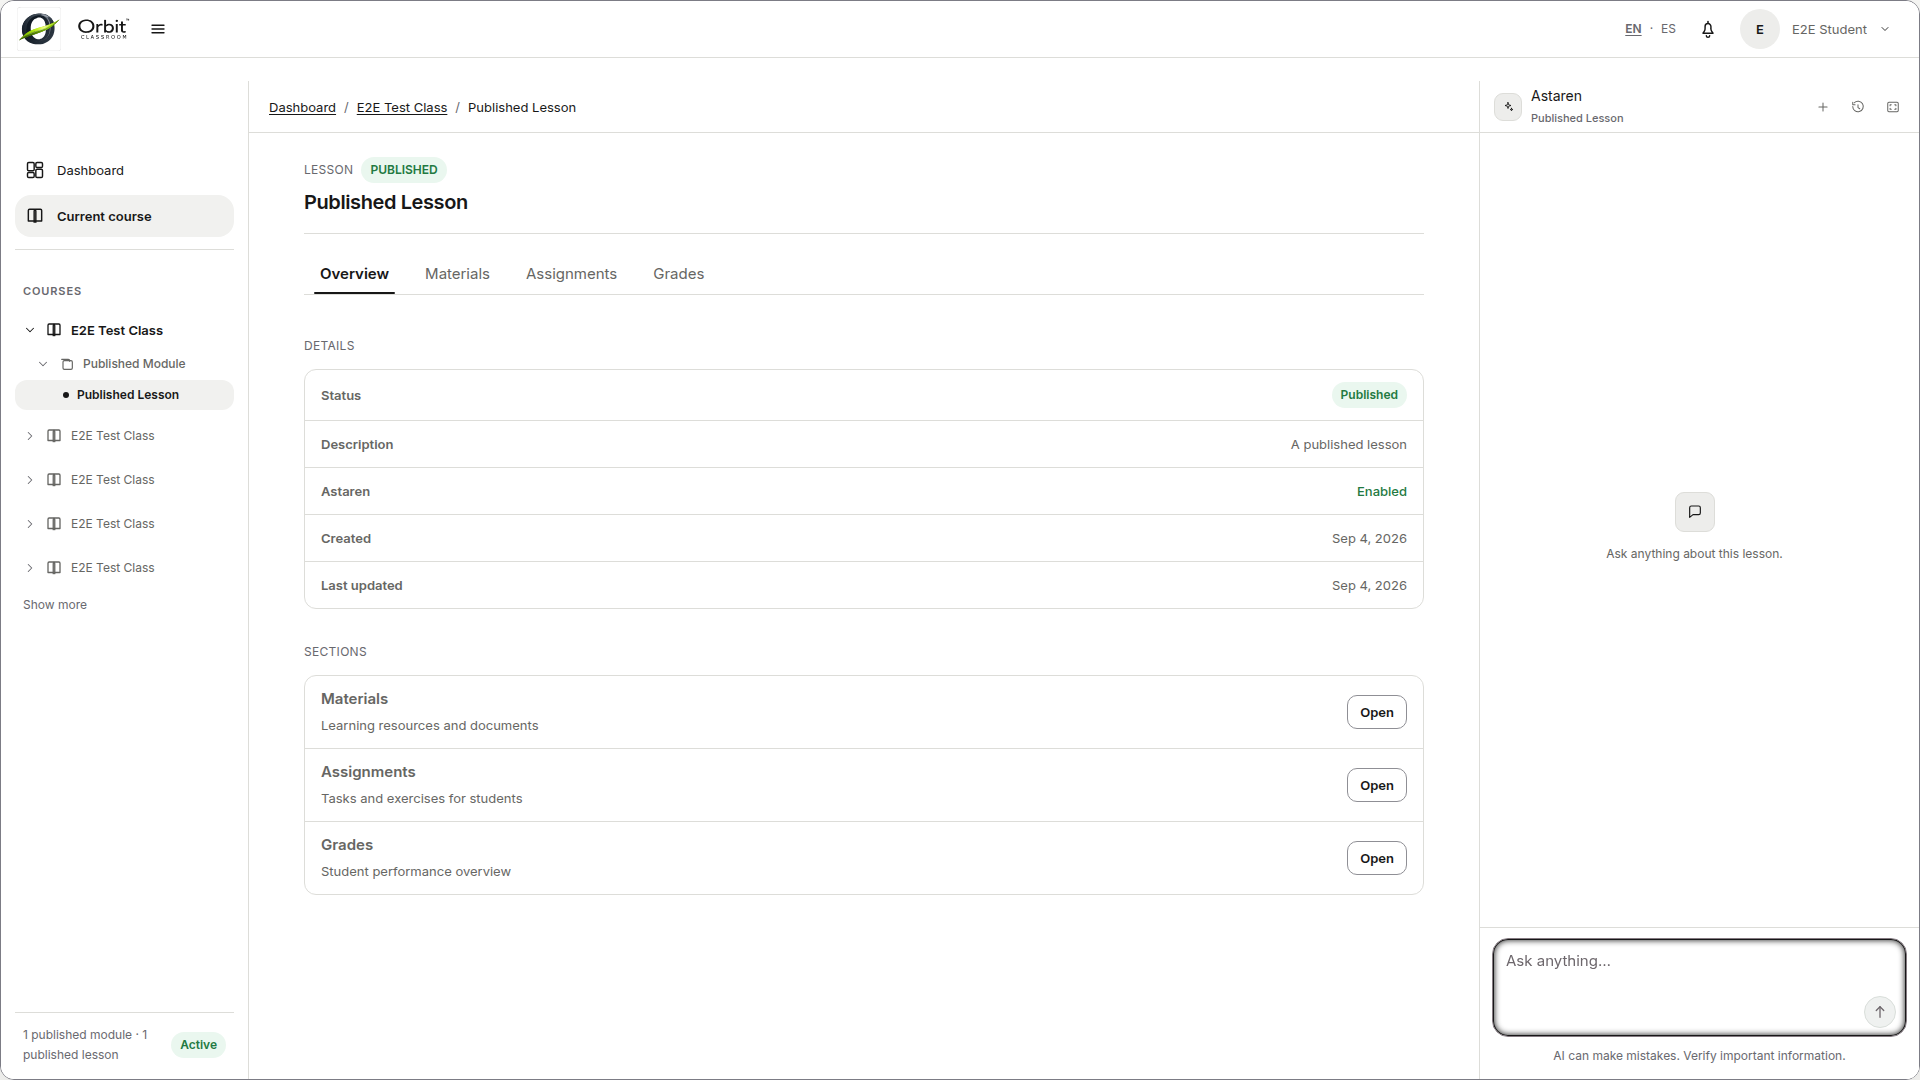
Open a class and reach the lesson where you want to edit content, grade, or use the chat.
Before you start#
You have an active Teacher role.
You can see the dashboard.
Steps#
Go to the dashboard.
Open a class available for your account.
In the left panel, navigate the hierarchy
Class -> Module -> Lesson.Select the lesson you want to open.
Expected result#
The class opens in its workspace and the lesson appears in the central area with its tabs, including Settings.
Limits and notes#
Only published modules and lessons appear in normal navigation.
Class settings are accessed from the class workspace, not from the dashboard.
Task: understand when the right panel is active#
Goal#
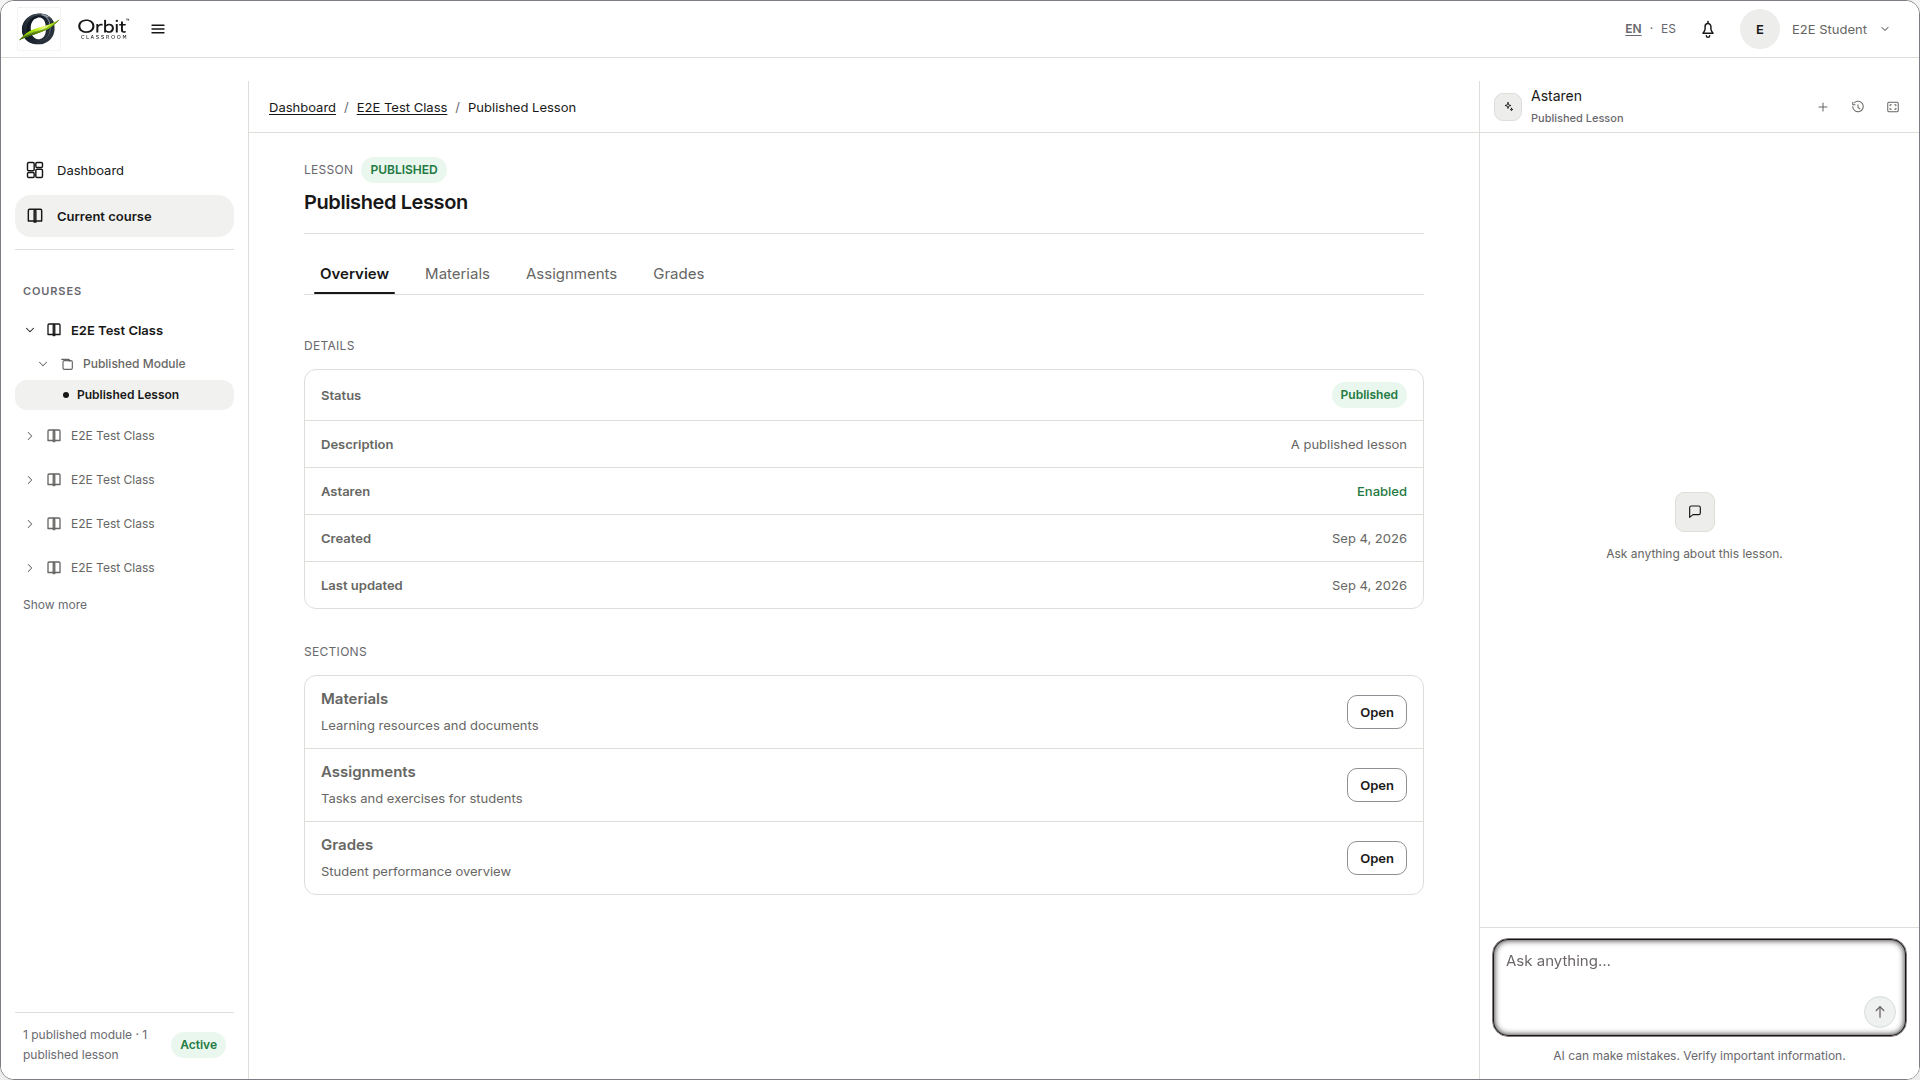
Know when you can use the assistant and when you will only see an inactive state.
Before you start#
You have entered a class.
Steps#
Open a published lesson.
Check the right panel.
If you are not inside a published lesson, confirm the panel is disabled.
Expected result#
The right panel is only interactive inside a published lesson. Outside that context, the panel is disabled.
Limits and notes#
Unpublished lessons do not allow chat, even for Teachers.
There is no free-form chat per class or personal chat outside a lesson.
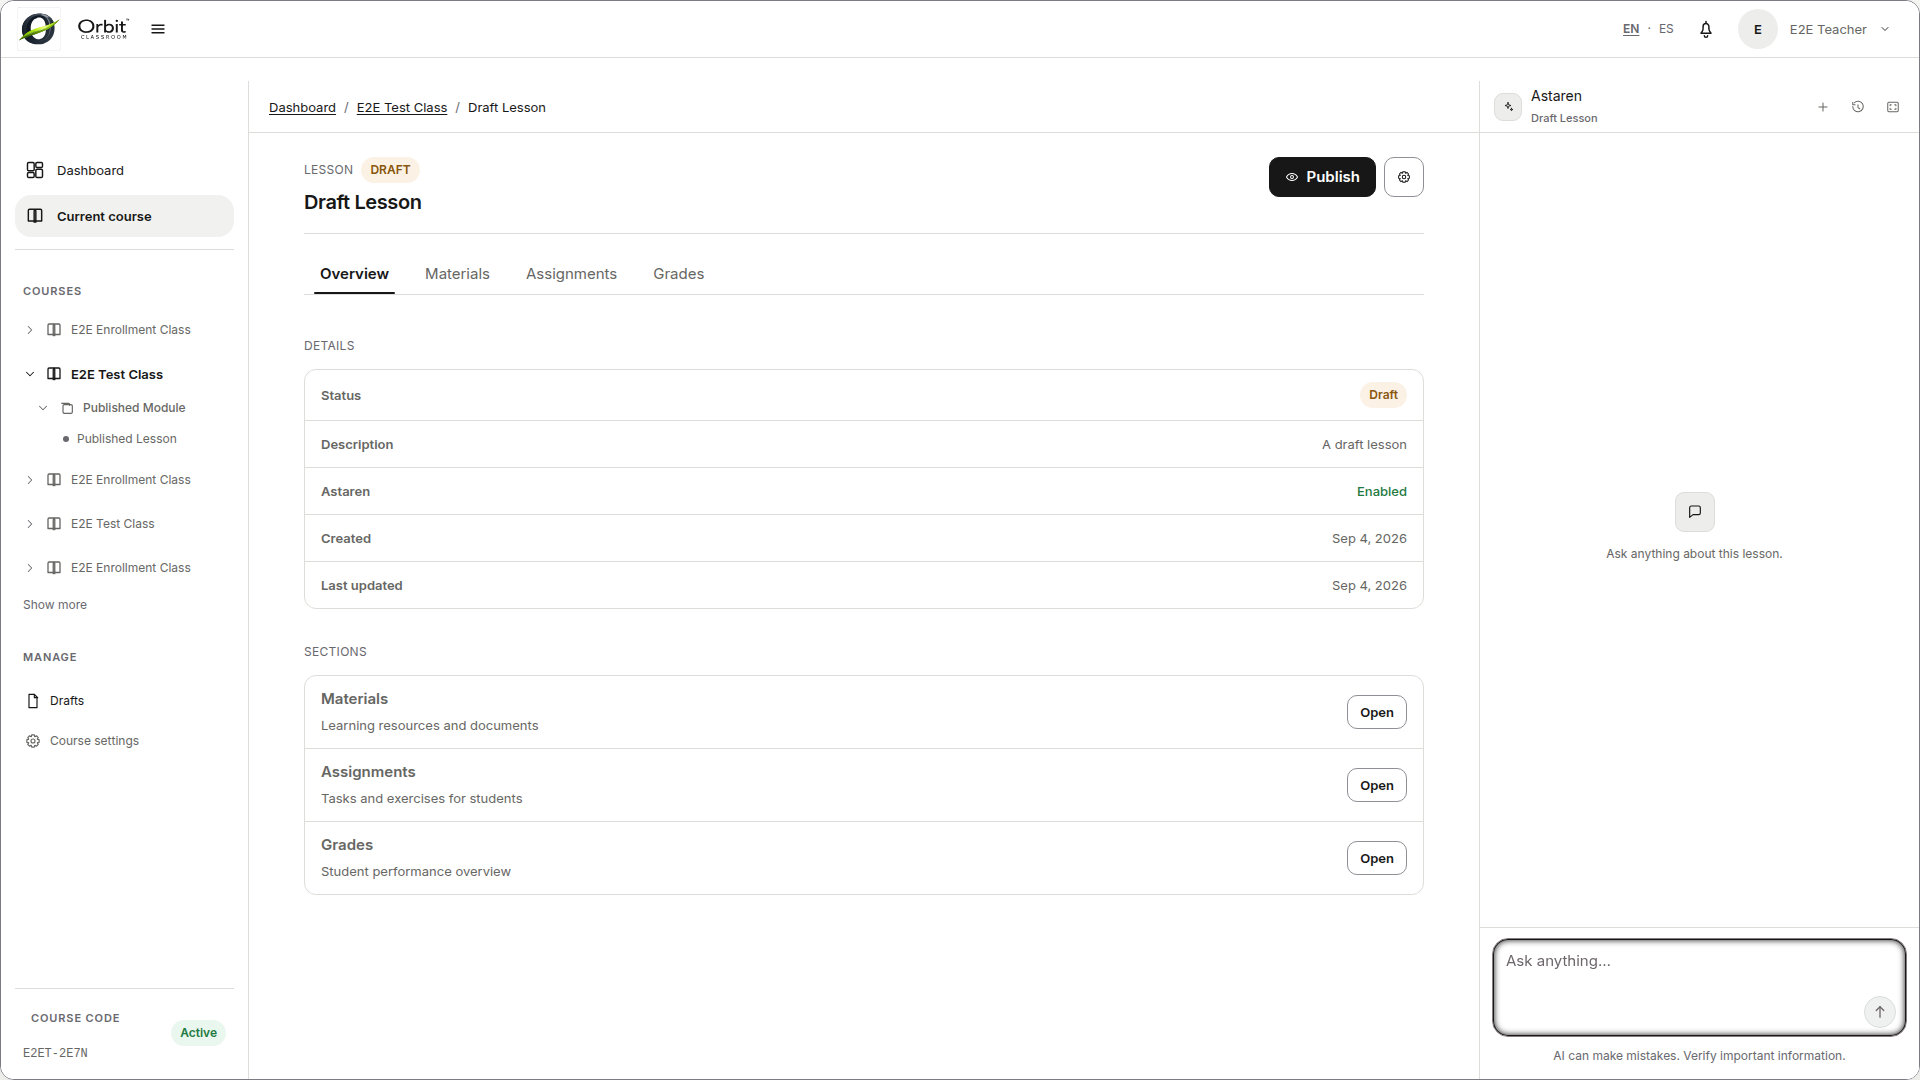
Task: find drafts and class settings#
Goal#
Locate the editing tools that do not appear in the published navigation.
Before you start#
You have an active Teacher role.
You have opened the class.
Steps#
Open a class.
Access
Draftsto view unpublished modules and lessons.Open
Class Settingsfrom the class workspace when you need to manage the code, archive, or members.
Expected result#
You can switch between published navigation for the normal experience and editing views for draft content and class configuration.
Limits and notes#
The
Draftsview only includes modules and lessons in draft state.It does not show drafts of assignments, materials, or grades.
An archived class is read-only for Teachers; it does not accept new chats or submissions.
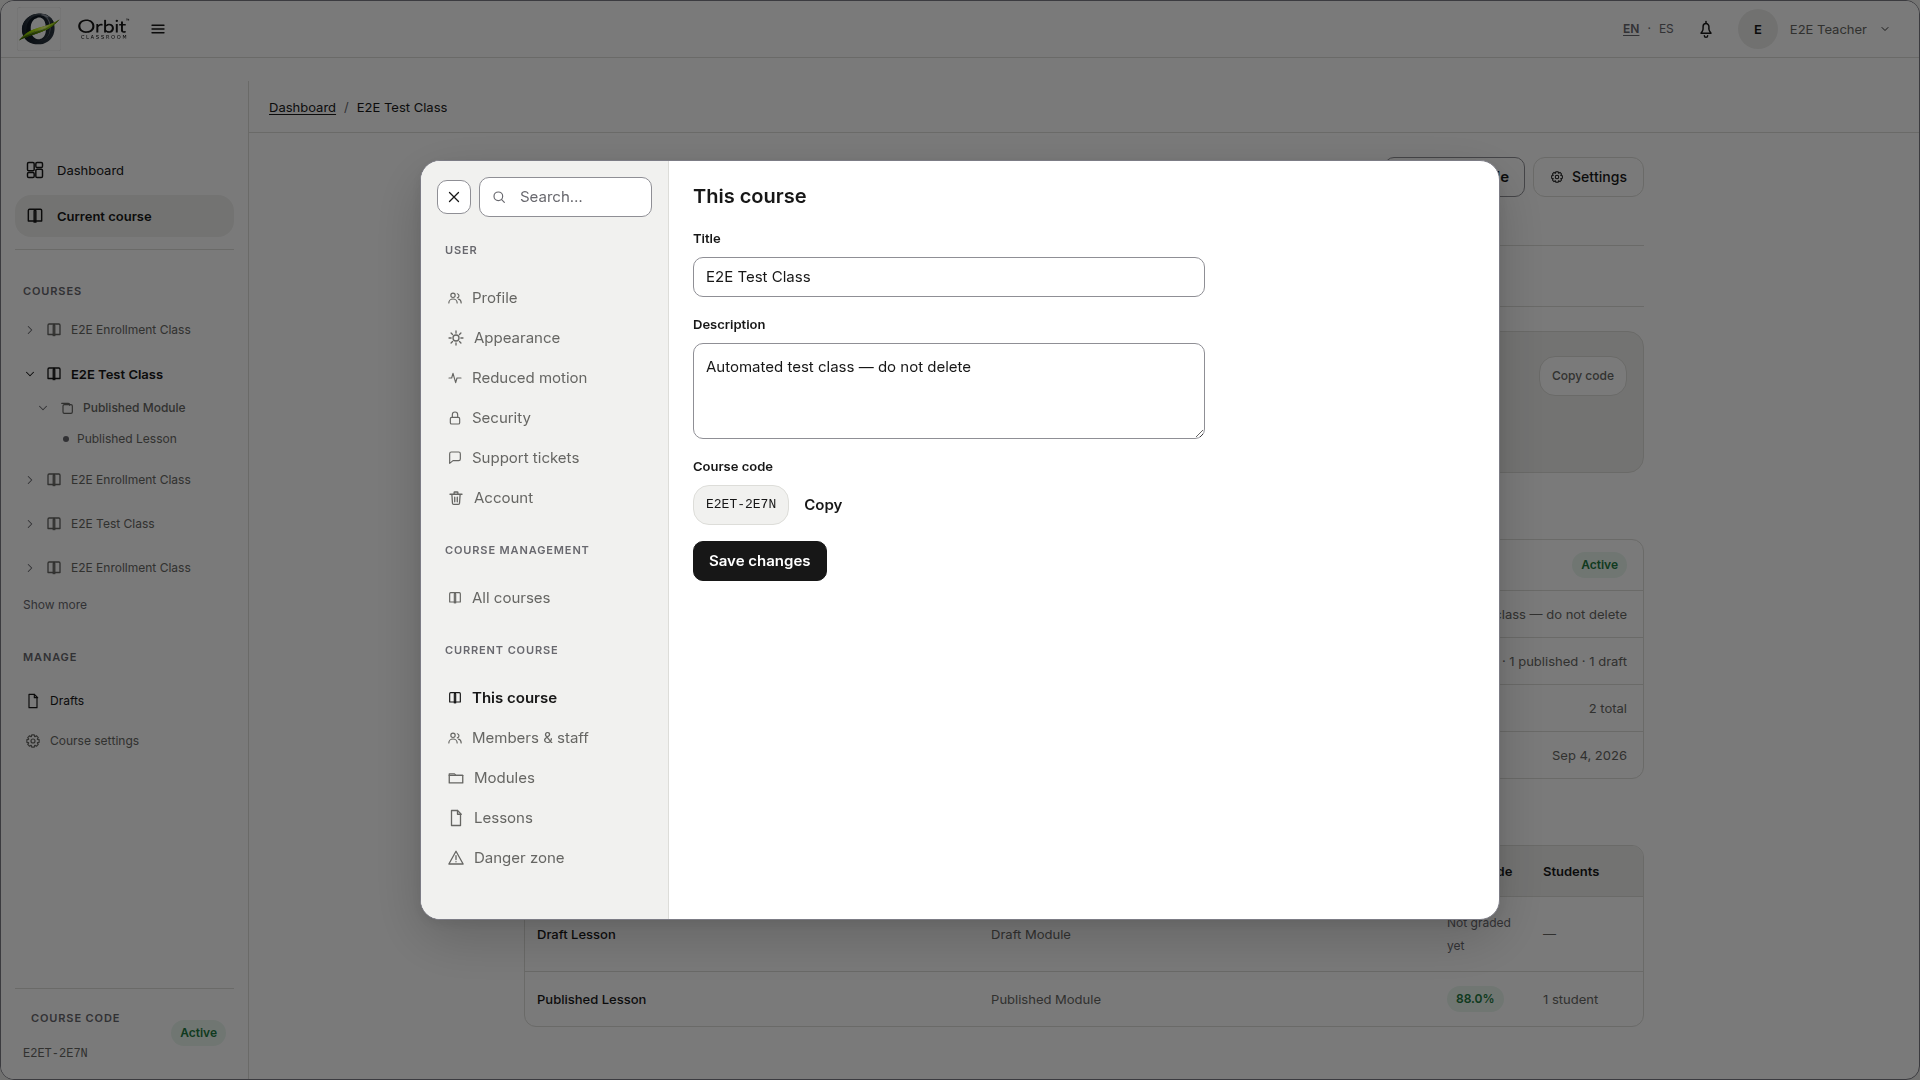
Task: get oriented in Class Settings#
Goal#
Know the sections available inside class configuration.
Before you start#
You have opened
Class Settings.
Steps#
Review the available sections:
General,Members,Code, and others if present.Use
Membersto manage requests and memberships.Use
Generalto edit the title, description, or archive the class.Use
Codeto share the class code with new students.
Expected result#
You know where to find each type of setting without exploring blindly.
Limits and notes#
Each action inside Class Settings affects only that class.
Classes#
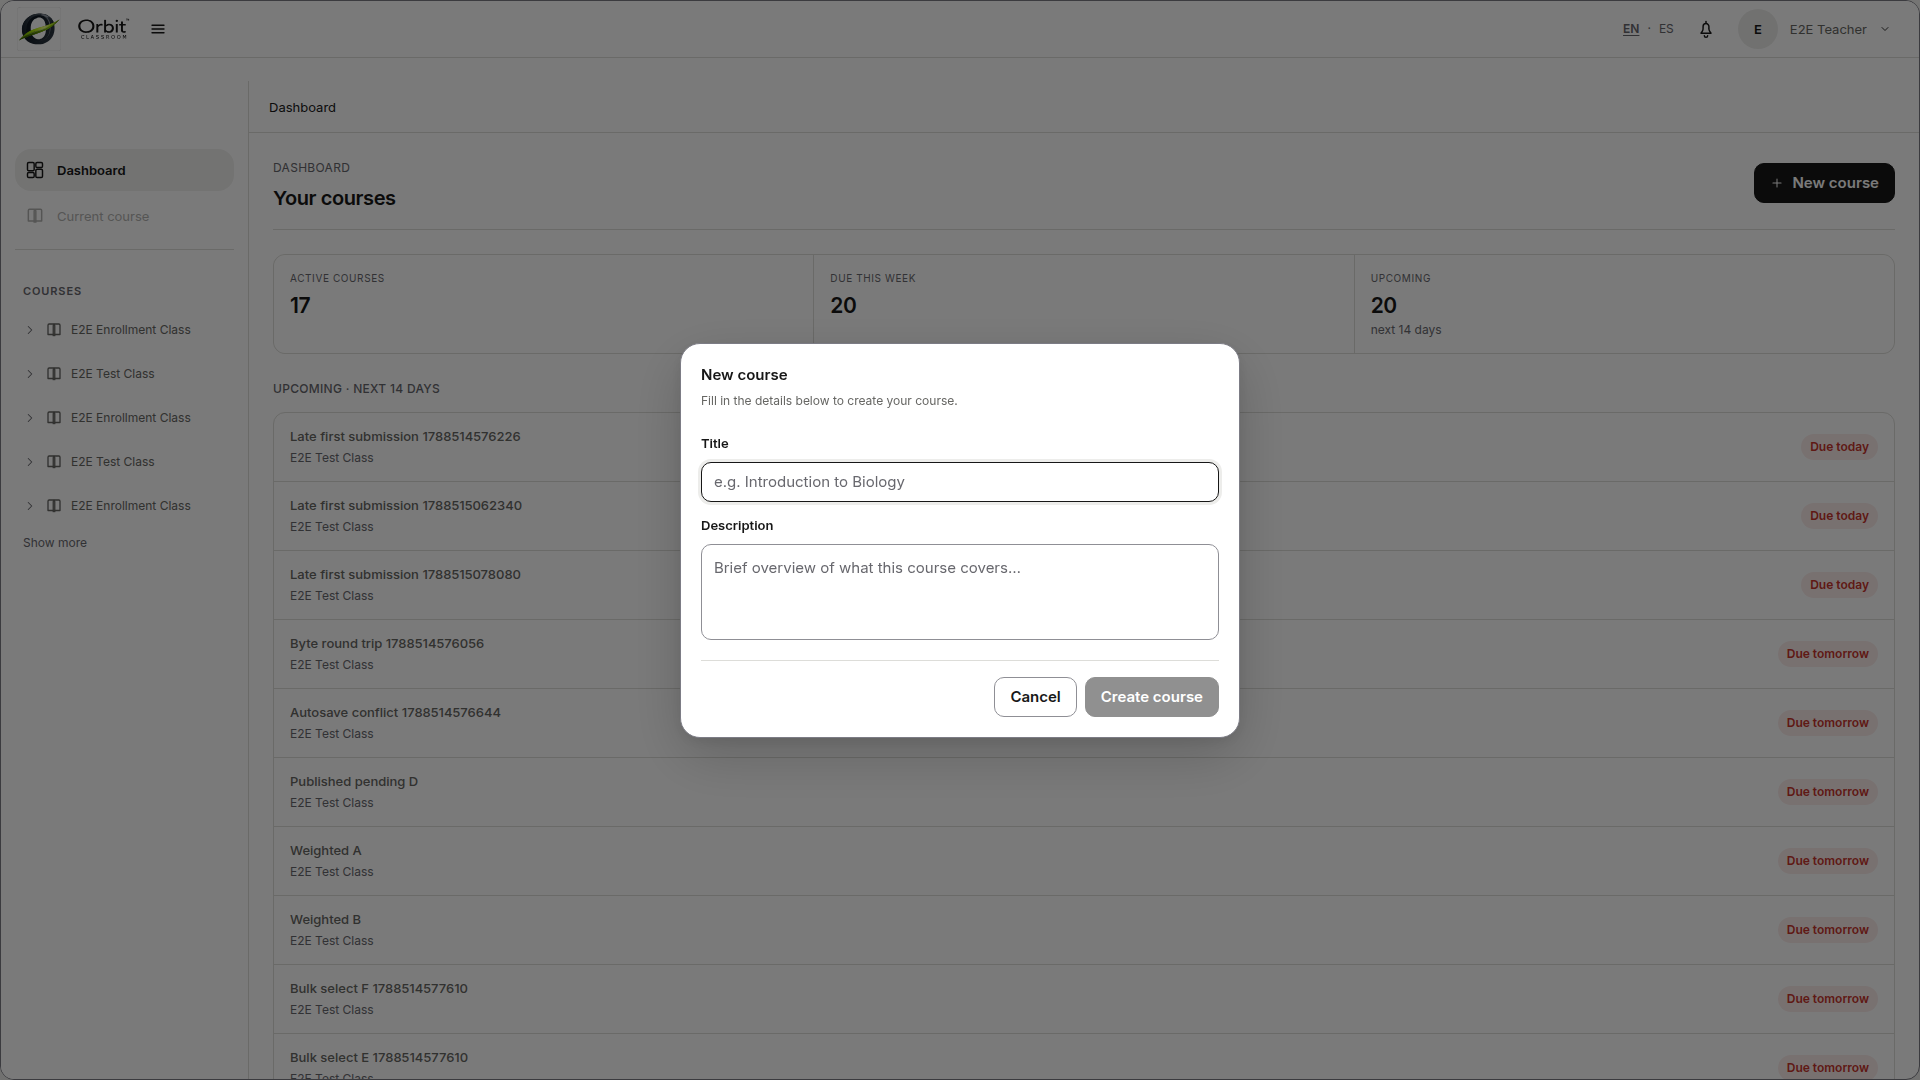
Task: create a class#
Goal#
Open a new class ready to receive structure and members.
Before you start#
You have an active Teacher role.
Steps#
Go to the dashboard.
Use the action to create a new class.
Fill in at least
titleanddescription.Confirm creation.
Expected result#
The class is immediately active and you can open its workspace.
Limits and notes#
Class configuration lives inside that class’s workspace.
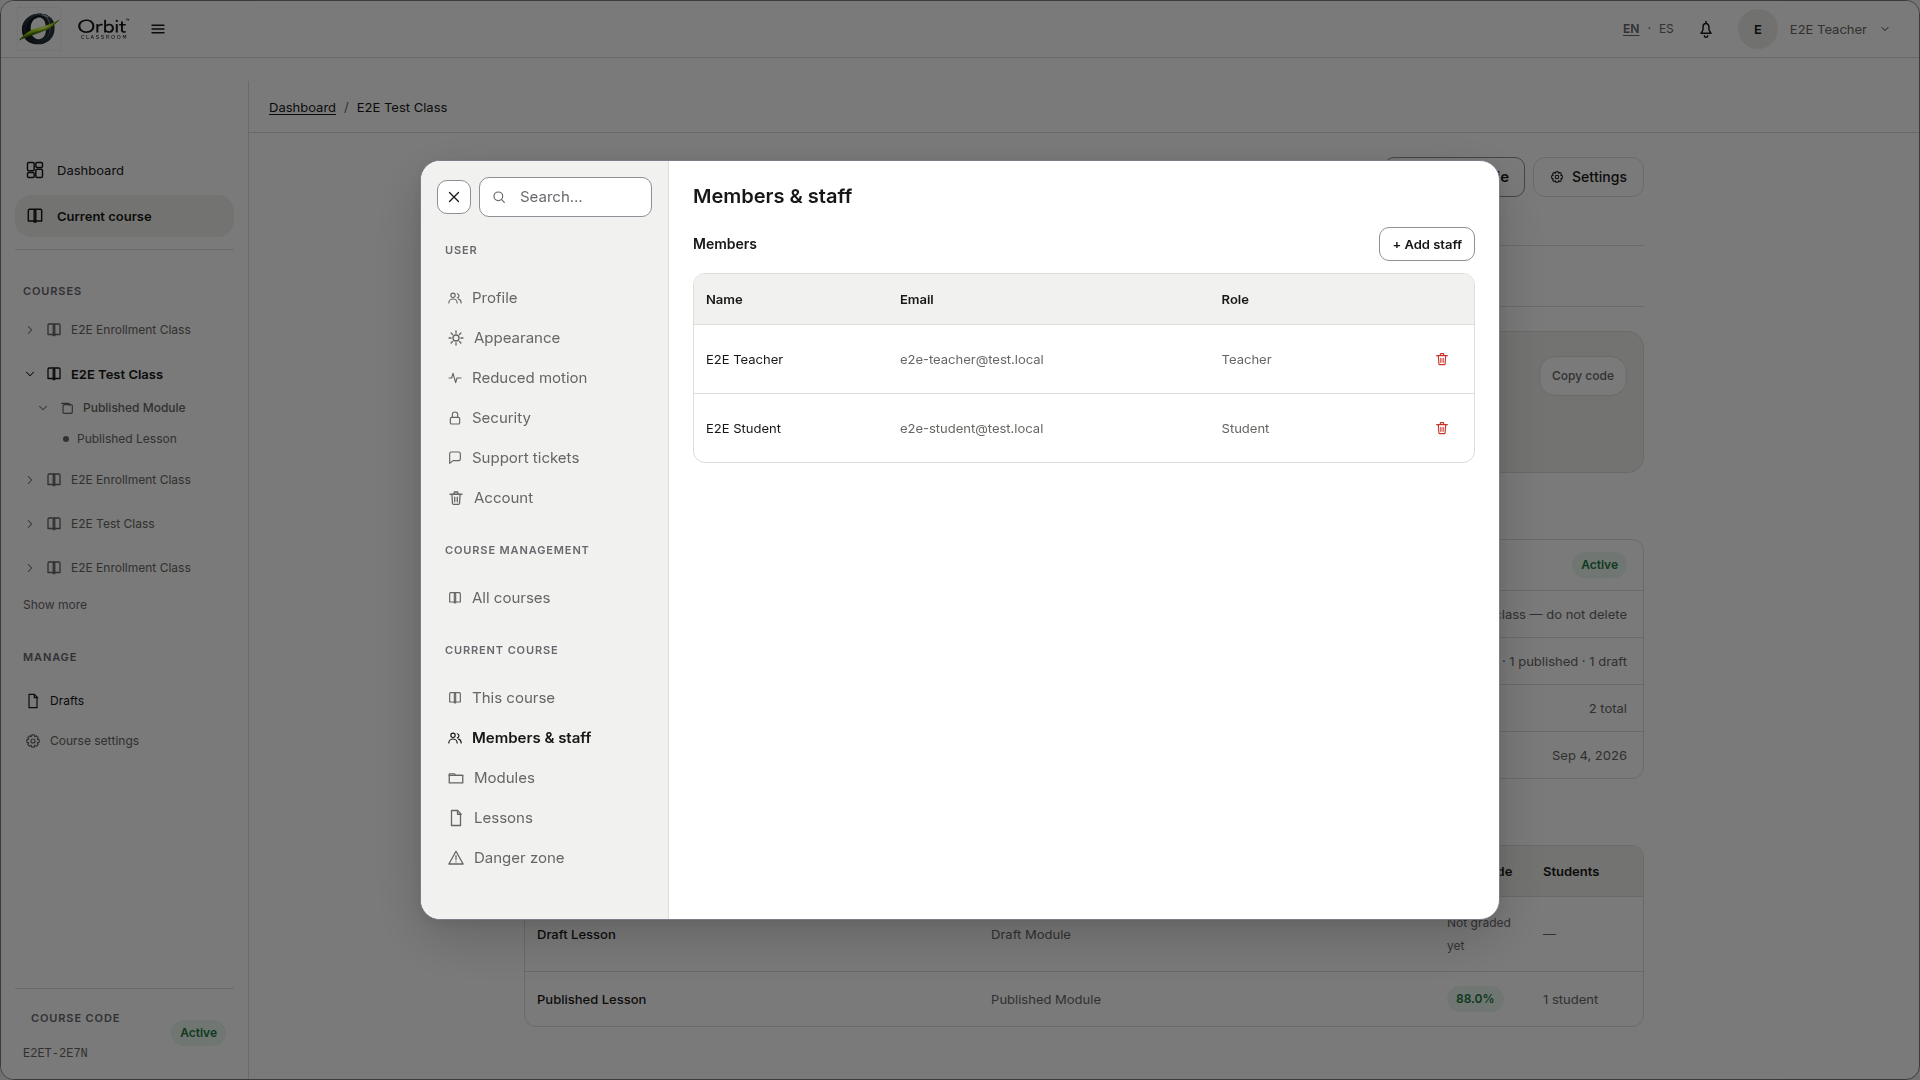
Task: approve requests and manage members#
Goal#
Control who enters the class and who remains active inside it.
Before you start#
You have opened the correct class.
You have entered
Class Settings.
Steps#
Open the members table.
Review students with
Pendingstatus.Approve or reject as appropriate.
Remove approved students when necessary.
Use search and bulk actions if the list is long.
Expected result#
The members table reflects Pending, Approved, Rejected, or Removed states, and the class retains only valid access.
Limits and notes#
Rejected or removed students are hidden by default and appear with a toggle or filter.
You can add Teachers or Admins to the class by searching for existing users.
Teacher can only remove Teachers, not Admins.
Removing any member requires confirmation.
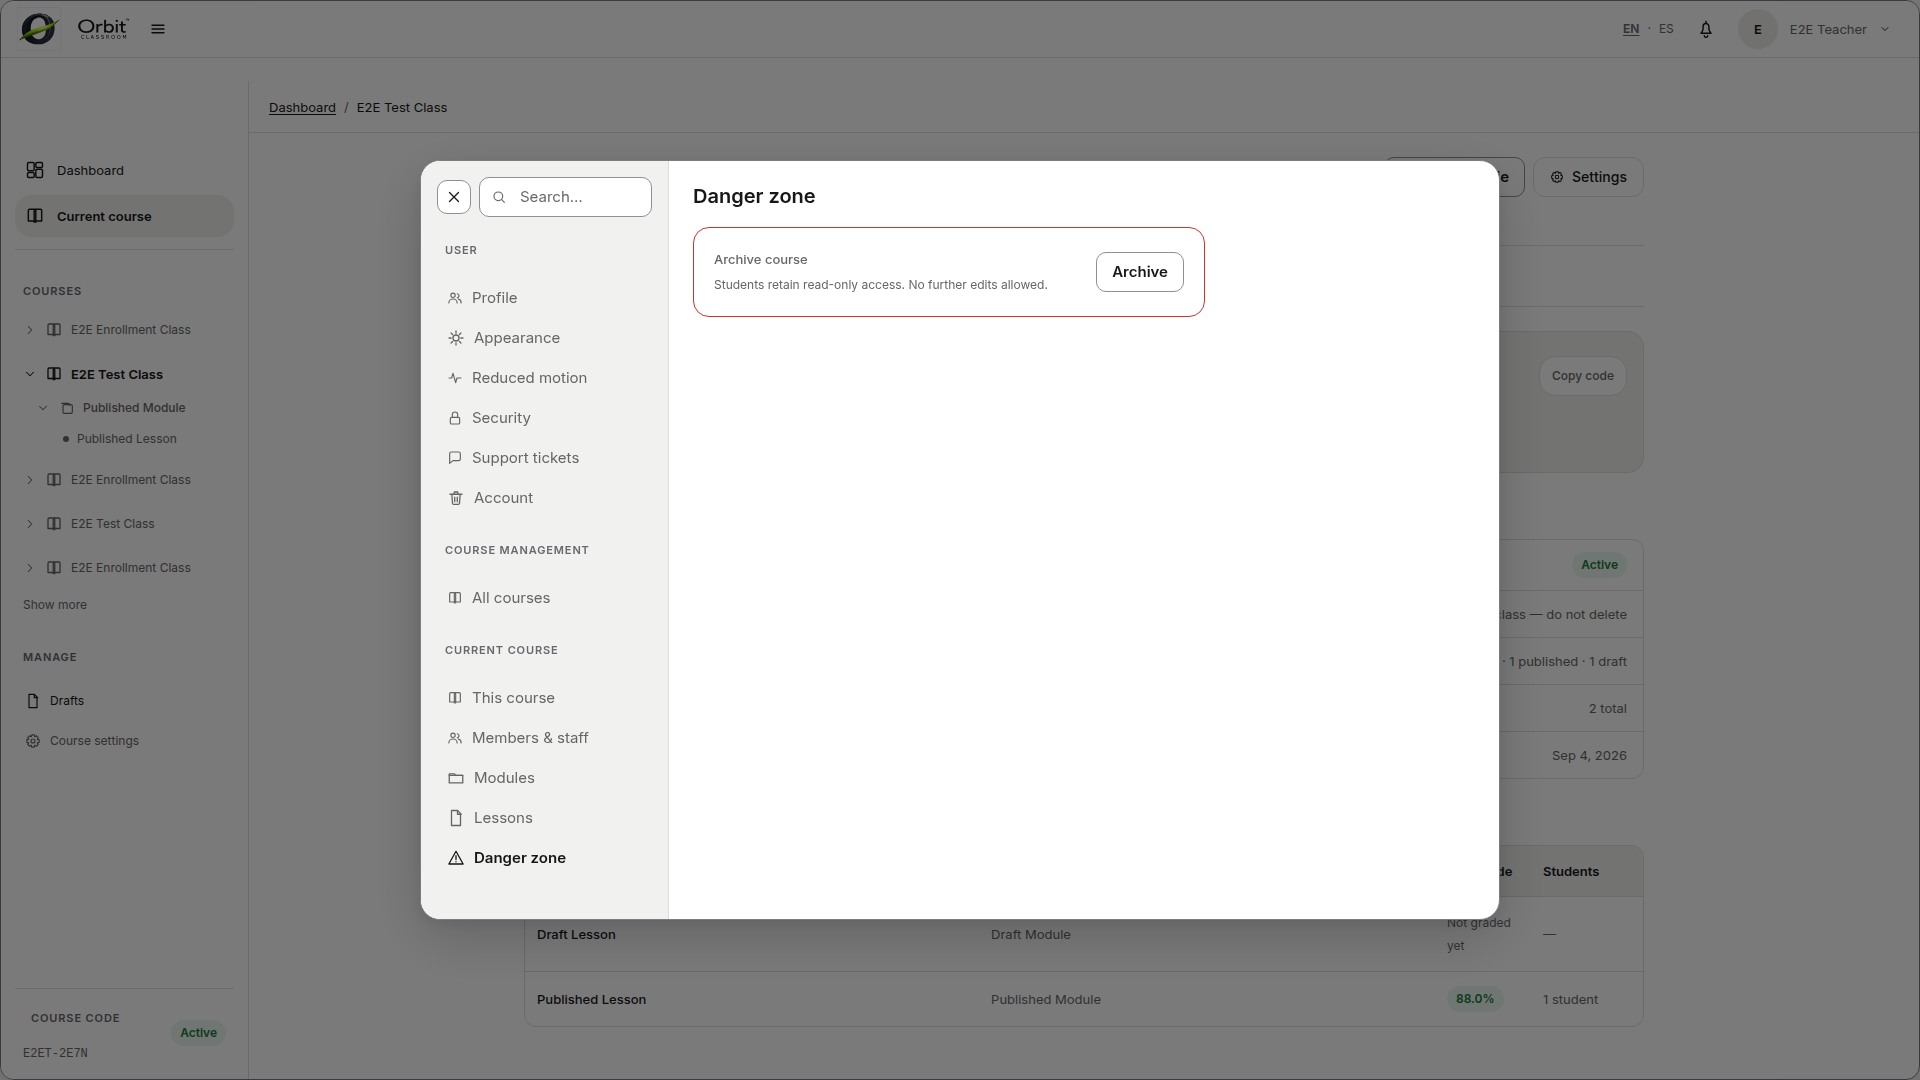
Task: archive or unarchive a class#
Goal#
Switch the class between active and archived state without losing its information.
Before you start#
You have opened
Class Settings.
Steps#
Find the archive or unarchive control.
Confirm the action.
Verify the new state of the class.
Expected result#
The class changes state and retains all stored information.
Limits and notes#
An archived class is read-only for Teachers and Admins.
Students retain read access to previously published content and grades.
An archived class does not accept new chats or submissions.
Content#
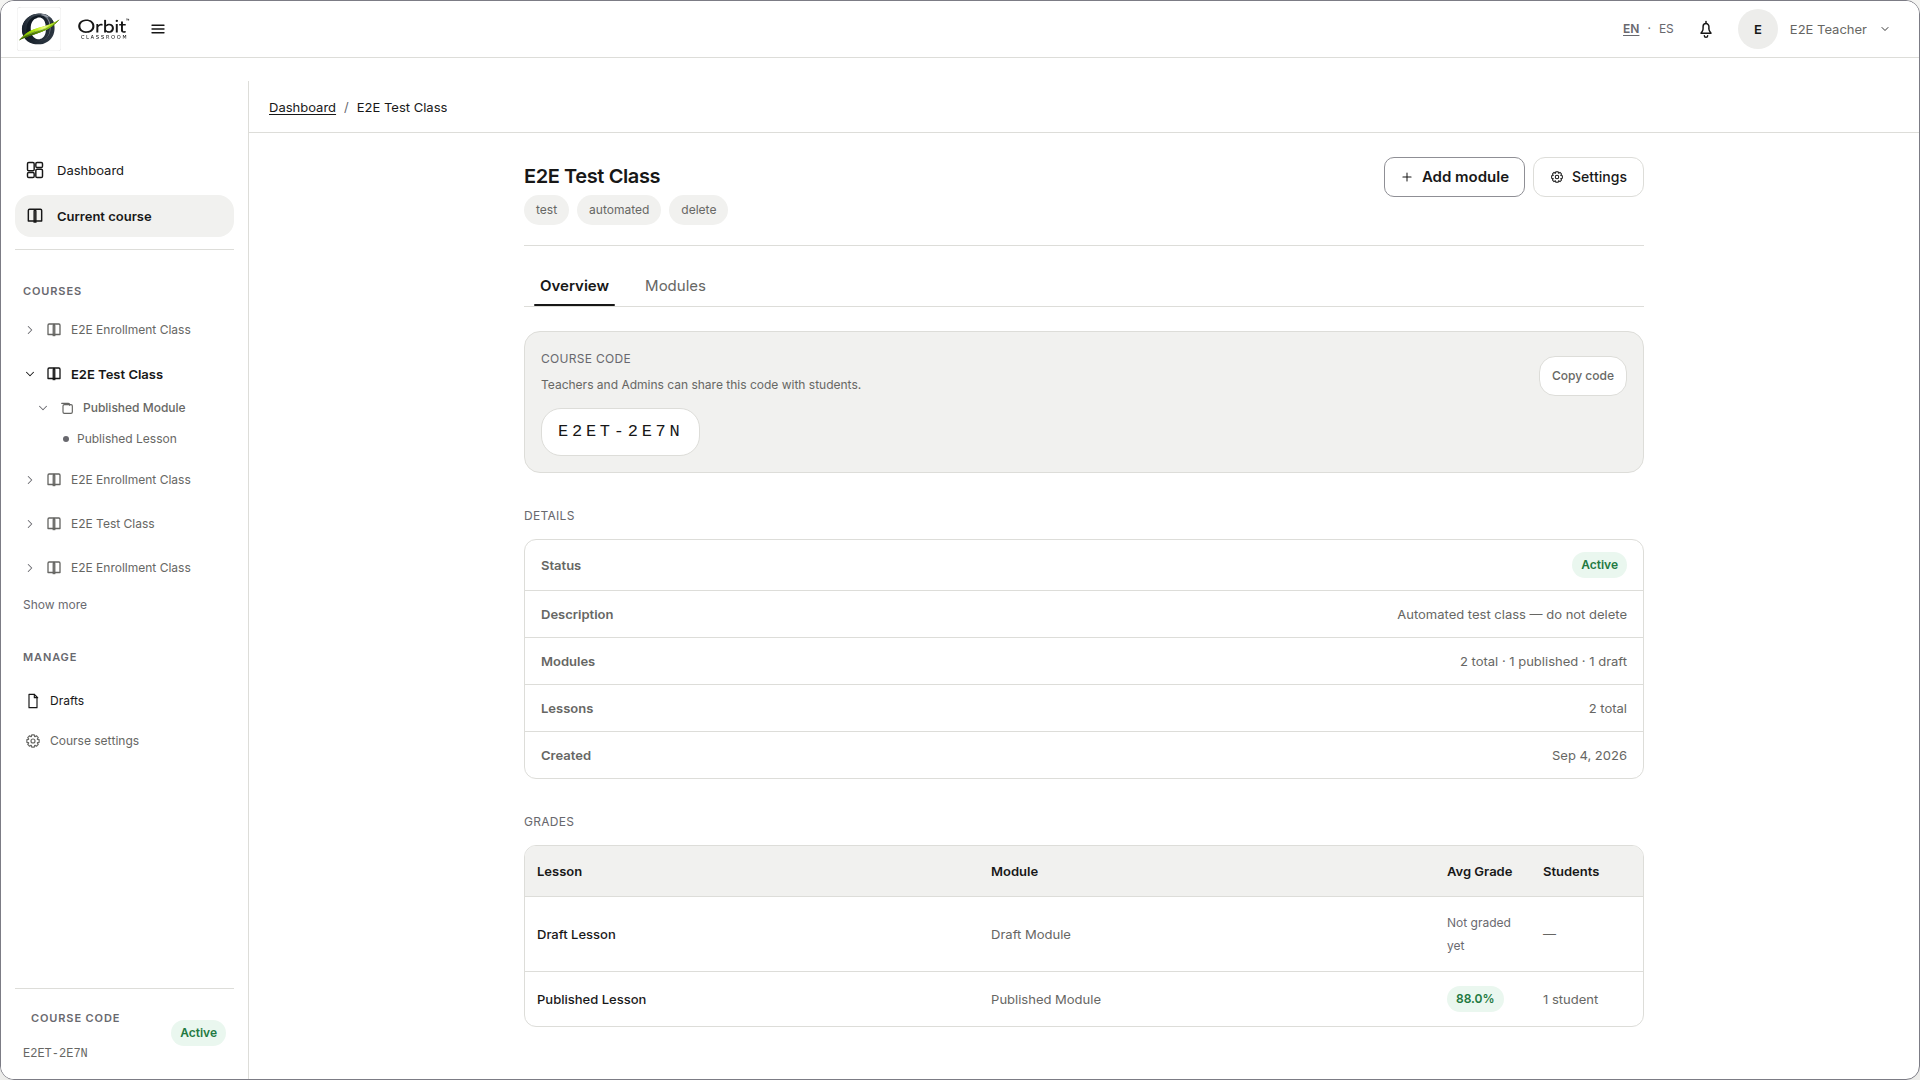
Task: create modules and lessons, and publish them#
Goal#
Build the academic structure of the class and make it visible to students.
Before you start#
You have opened the class.
Steps#
Create a module from the class.
Open the module to create a lesson.
Fill in
title,description, and visibility state where applicable.Use the
Draftsview when you need to access unpublished content.Publish the module or lesson when it should appear in normal navigation.
Expected result#
The class is organized as Class -> Module -> Lesson, and only published content appears to students in normal navigation.
Limits and notes#
There are no module-level assignments in v1.
A lesson can only exist inside a module.
Drafts of assignments, materials, and grades do not appear in the
Draftsview.Deleting a module or lesson requires confirmation and soft-deletes dependent data.
Task: configure a lesson’s AI chat mode#
Goal#
Choose how the AI assistant behaves for students in a specific lesson.
Before you start#
You have opened a lesson from
Lessonsin course settings.
Steps#
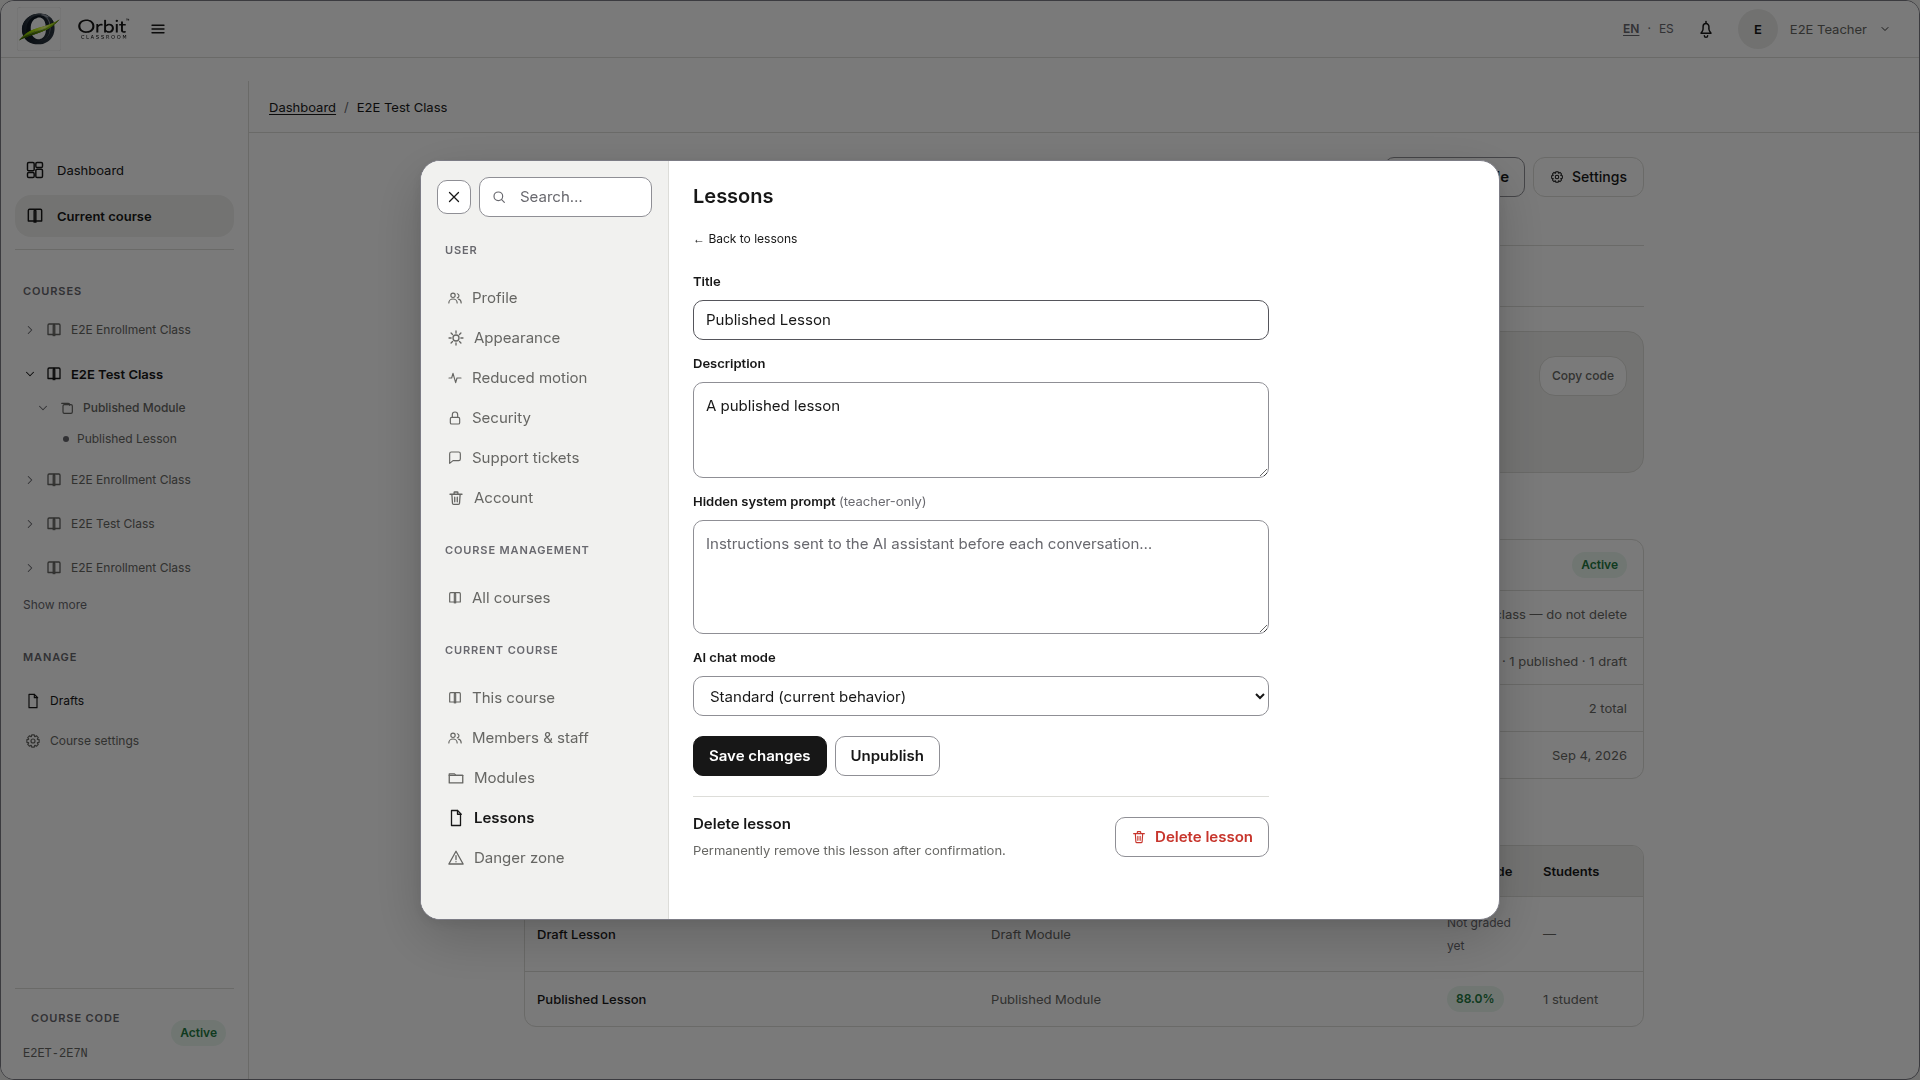
Open course settings and go to
Lessons.Select the lesson.
Set
AI chat modeto Standard, Reference, or Guided.Save changes.
Expected result#
The chat in that lesson uses the selected mode immediately — no republish needed, the same as editing the hidden prompt.
Limits and notes#
Standard is the default; existing lessons keep today’s behavior until you change this.
Reference answers directly, with citations, the same as Standard’s grounding behavior.
Guided favors hints and guiding questions before a full answer, and gives a direct explanation after a few turns rather than withholding it indefinitely.
This is an early proof of concept. It does not measure a student’s understanding, effort, or progress, and should not be used as a grading signal.
Materials#
Task: upload or reuse materials#
Goal#
Add learning resources to a lesson and control their visibility.
Before you start#
You have opened the correct lesson.
Steps#
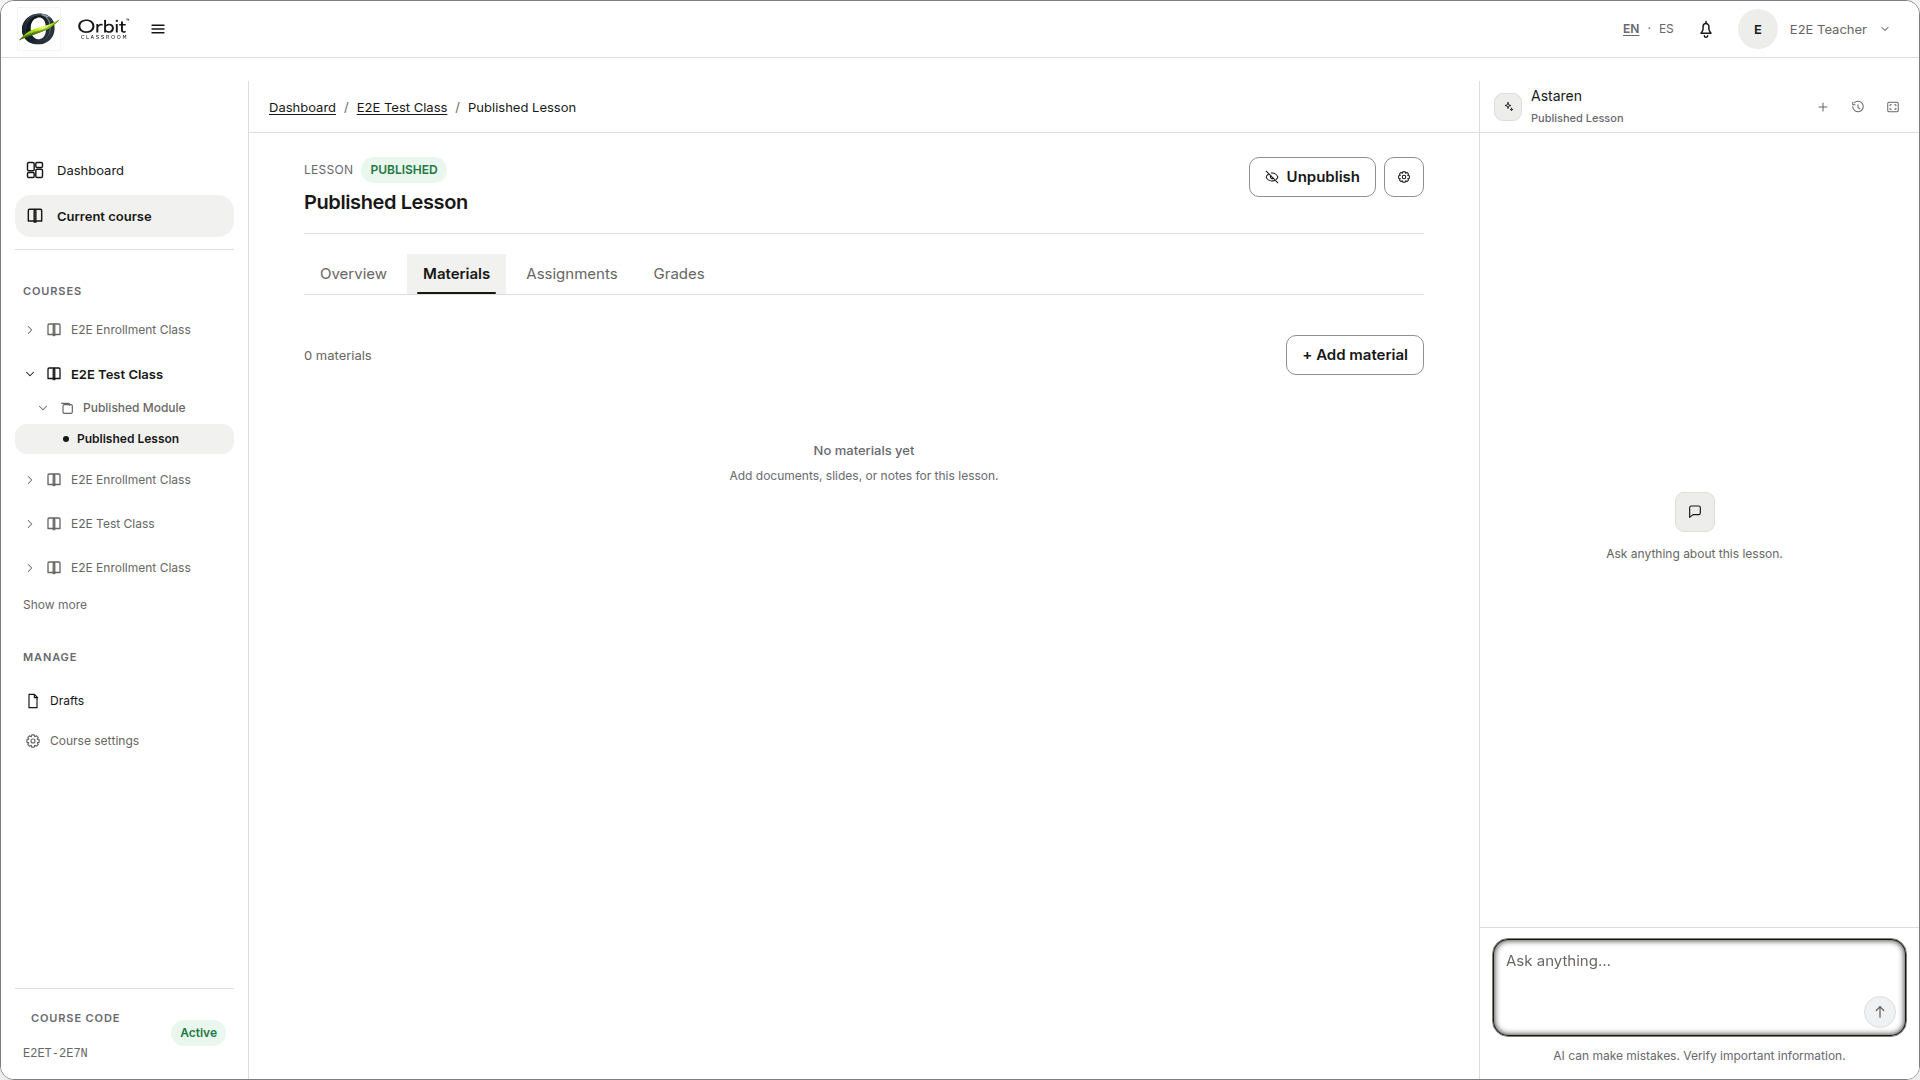
Go to
Materials.Upload a new material or import one already used in another lesson.
Edit
title,description, and type if needed.Publish or unpublish the material according to the course timeline.
Reorder or delete when necessary.
Expected result#
The lesson shows the correct set of materials, and students only see those that are published and ready.
Limits and notes#
Materials are shared by reference, not as copies.
Editing, unpublishing, or deleting a shared material affects all lessons that use it.
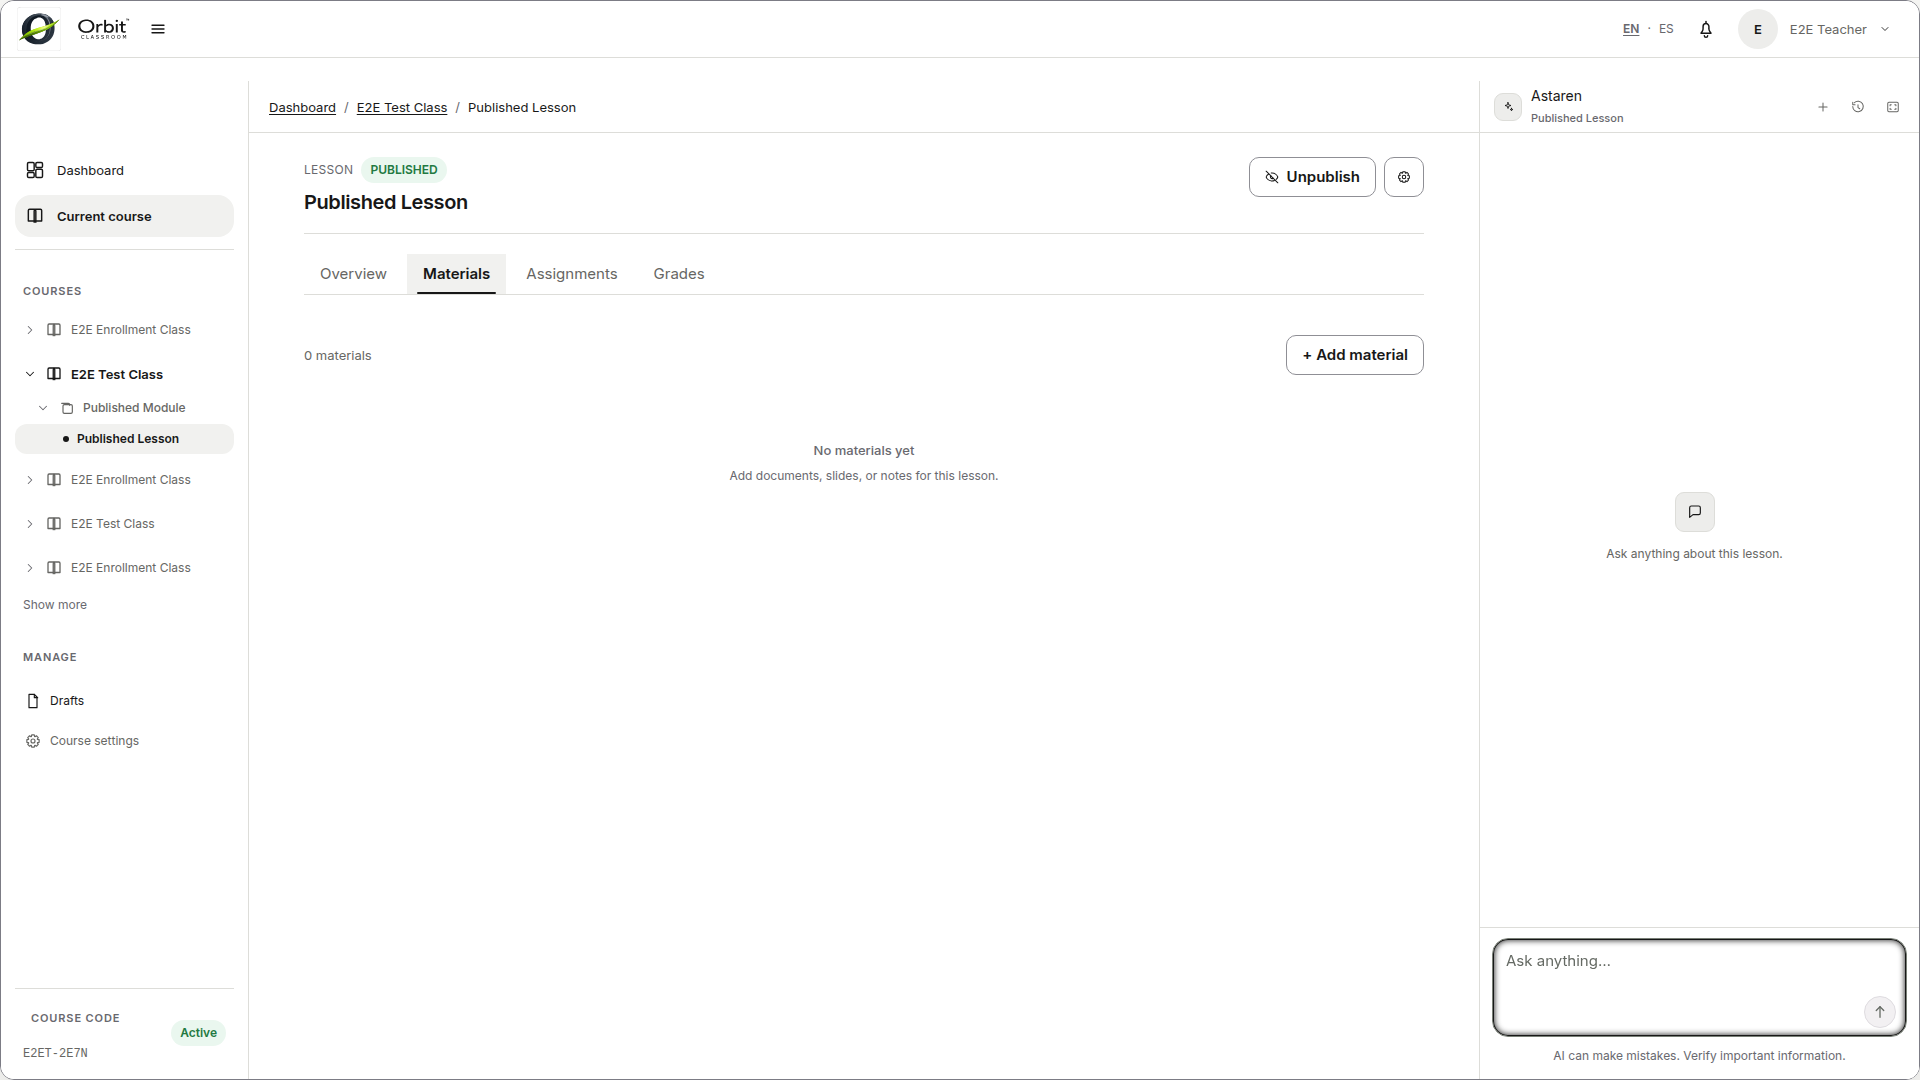
If processing fails, the material is discarded and the UI shows a simple error without technical detail.
Assignments#
Task: create assignments#
Goal#
Publish assignments from the correct place with clear submission rules.
Before you start#
You have opened the correct lesson.
Steps#
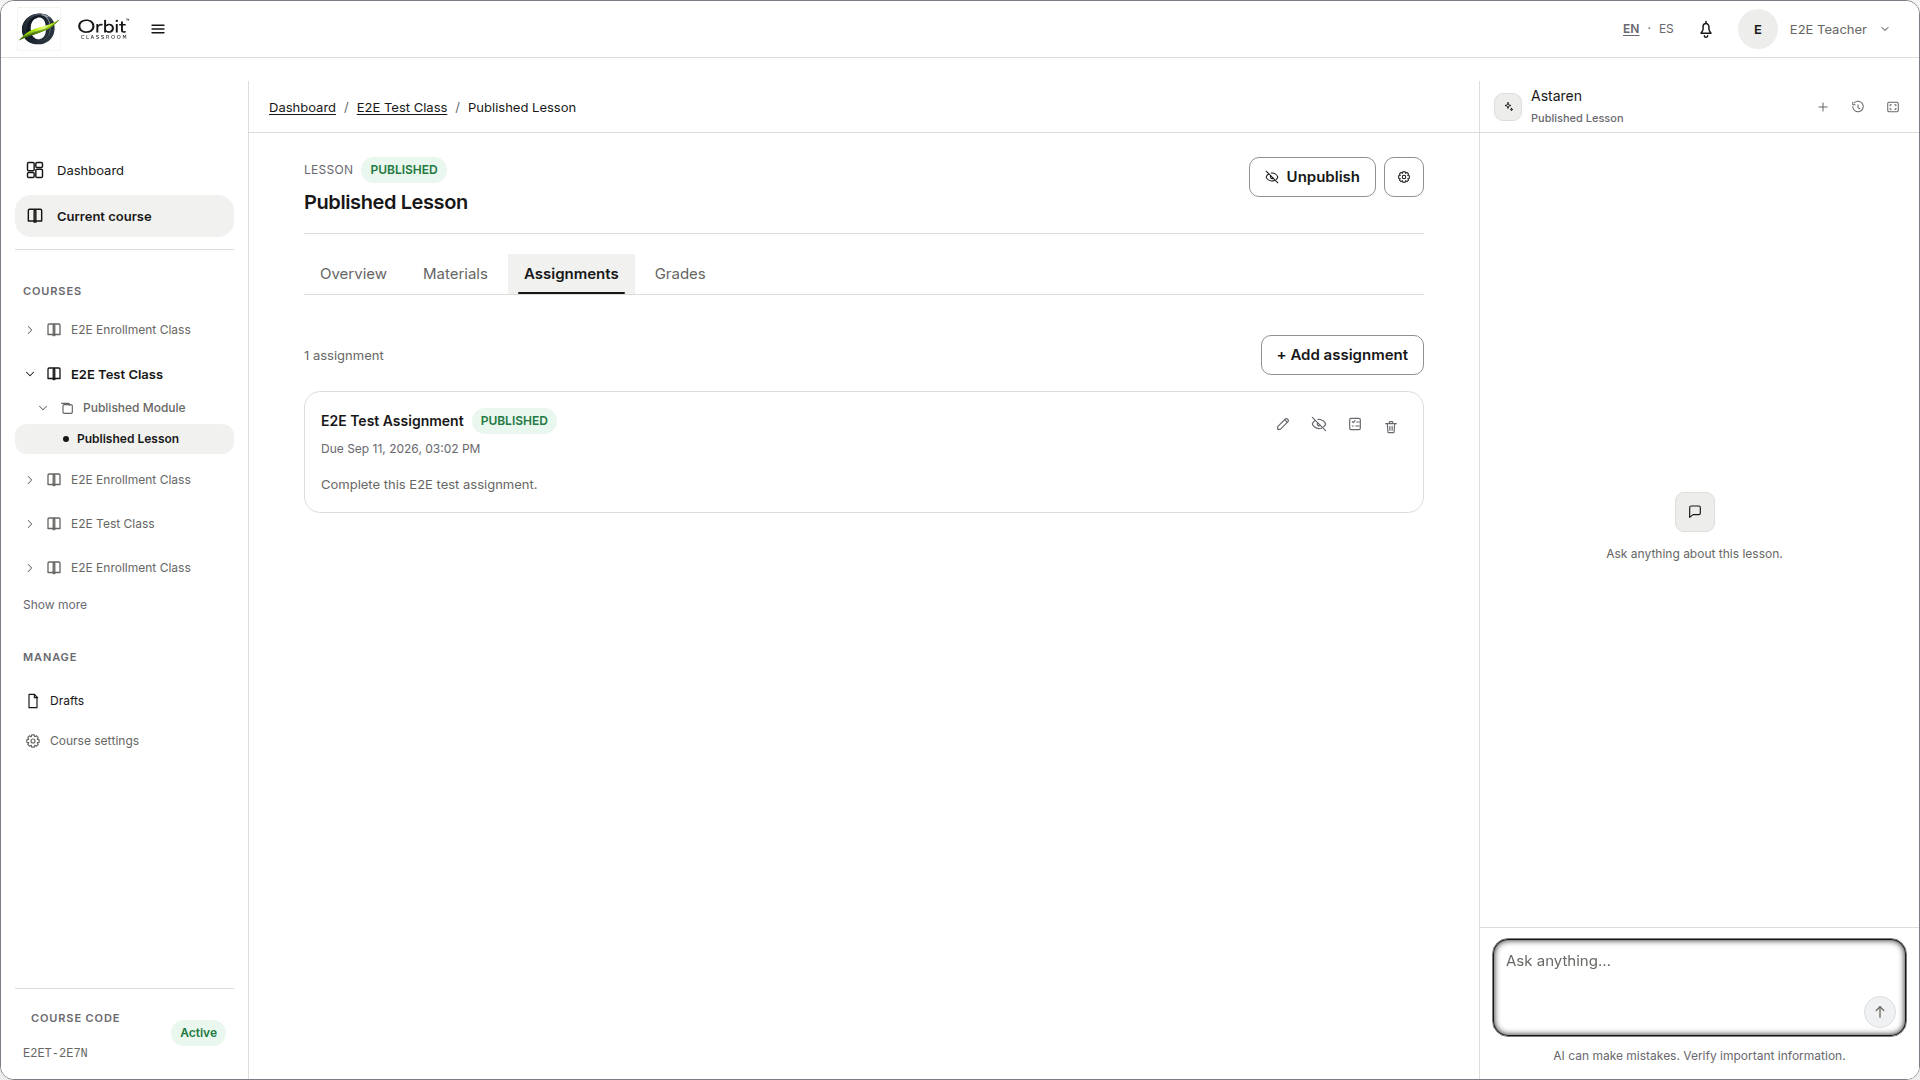
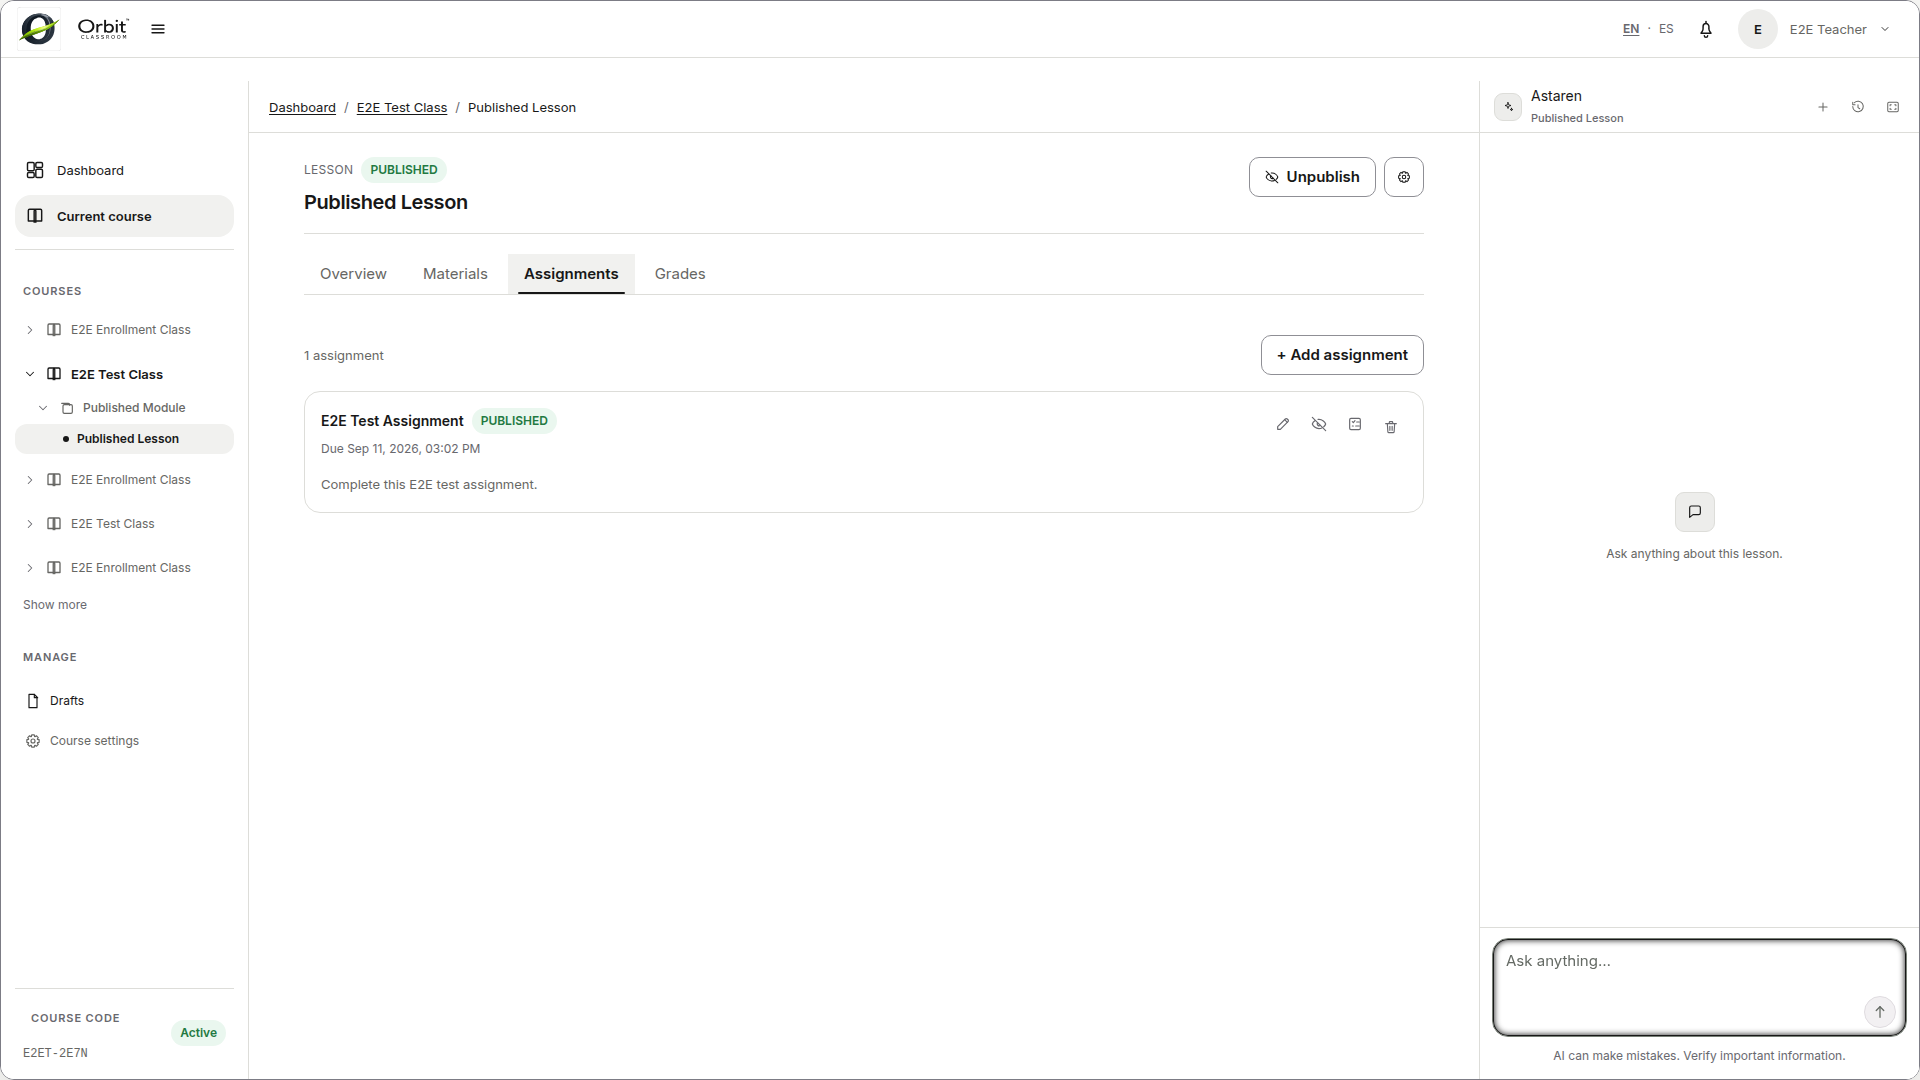
Go to
Assignments.Create a new assignment from that lesson.
Fill in
title,instructions,due date, visibility, and allowed file types.Publish the assignment when it should become visible.
Expected result#
The assignment appears in the lesson list and students can expand it to submit files.
Limits and notes#
Maximum file size is 30 MB.
You can use global default file types or an override per assignment.
The
Assignmentstab is not for grading.A published assignment can be deleted directly with confirmation.
Grades#
Task: grade from the Grades tab#
Goal#
Edit, publish, and unpublish grades in the correct place.
Before you start#
You have opened the correct lesson.
At least one assignment exists in that lesson.
Steps#
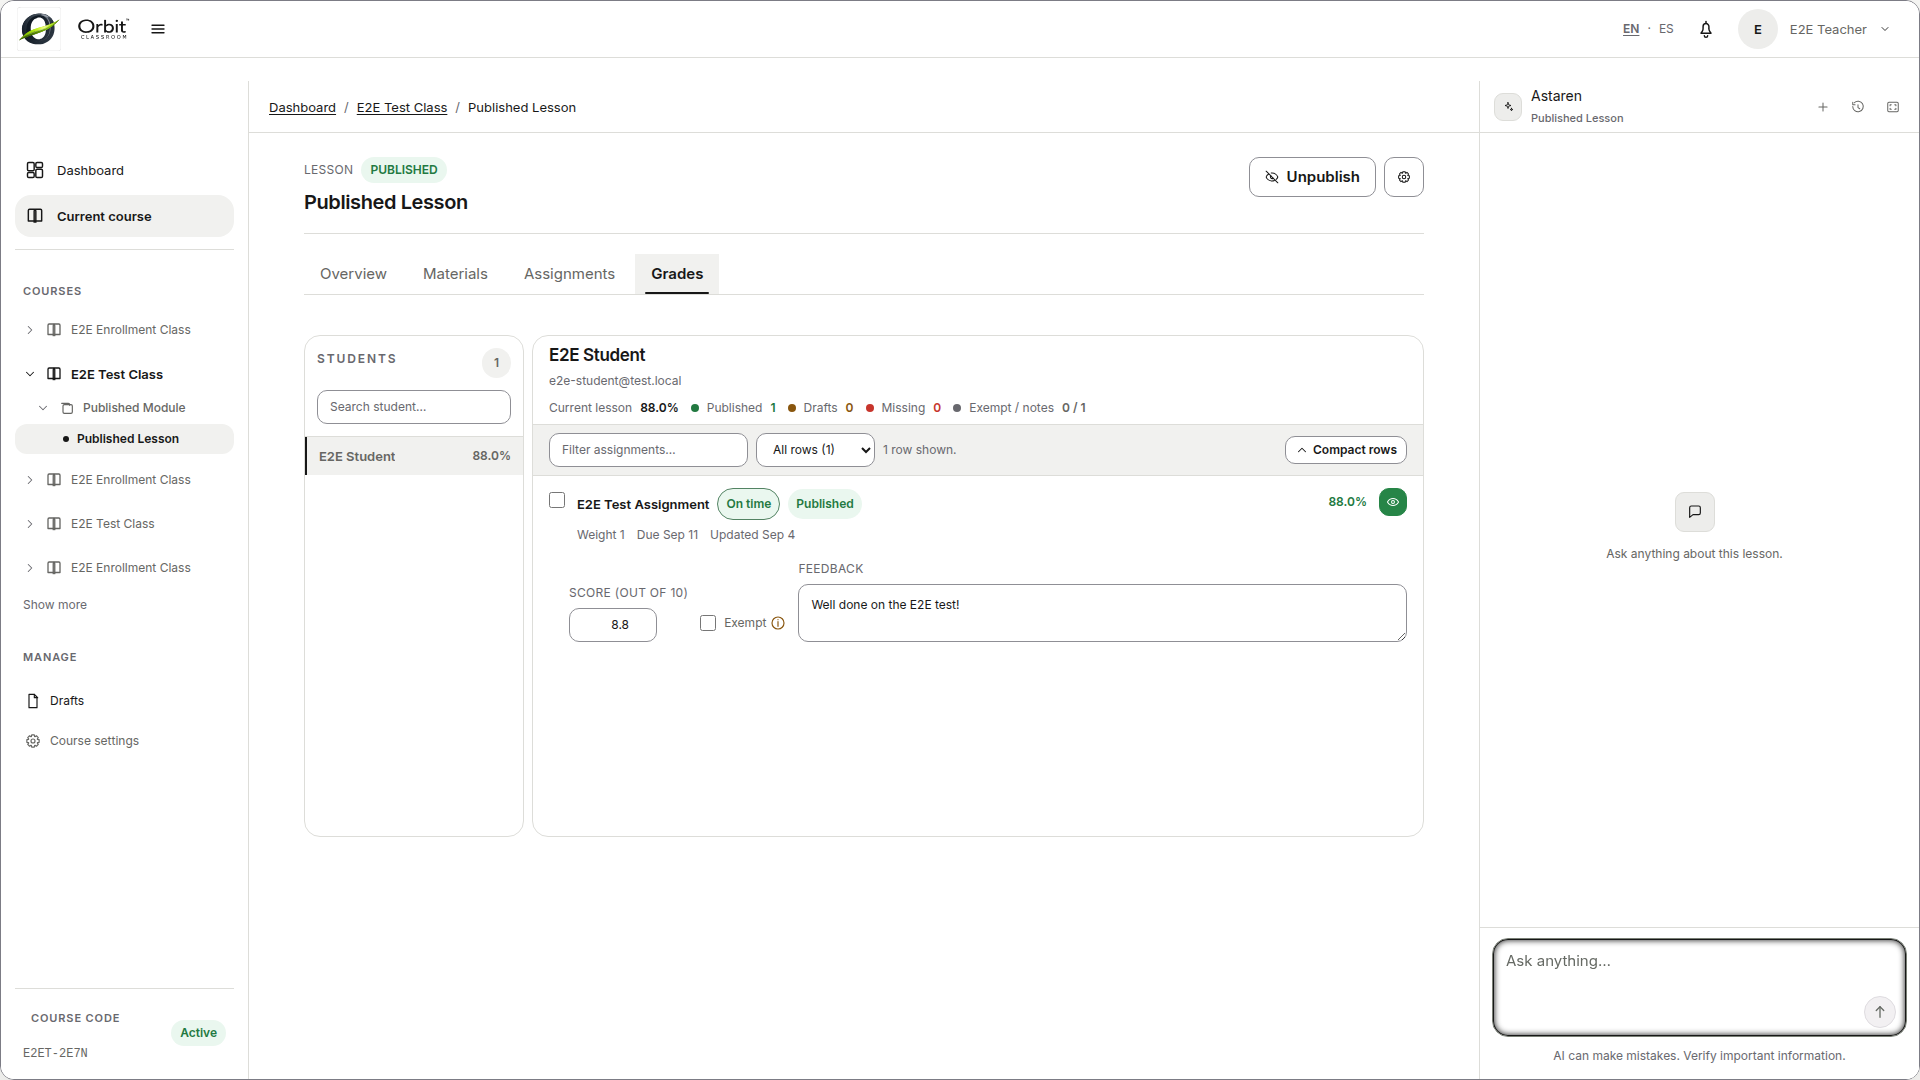
Go to
Grades.Select a single student.
Edit the numeric grade,
exempt, and feedback per row.Confirm that autosave completes the draft.
Publish or unpublish the necessary rows.
Expected result#
The lesson saves grades and feedback per assignment row, and students only see published values.
Limits and notes#
The numeric scale is 0 to 10.
If a row is set to
exempt, the numeric grade is fixed at0and feedback remains available.If there is no current submission, the row shows
No submissionand the grade cannot be edited.Edits to already-published data create a new draft until you publish again.
Lifecycle and settings#
Task: manage content lifecycle#
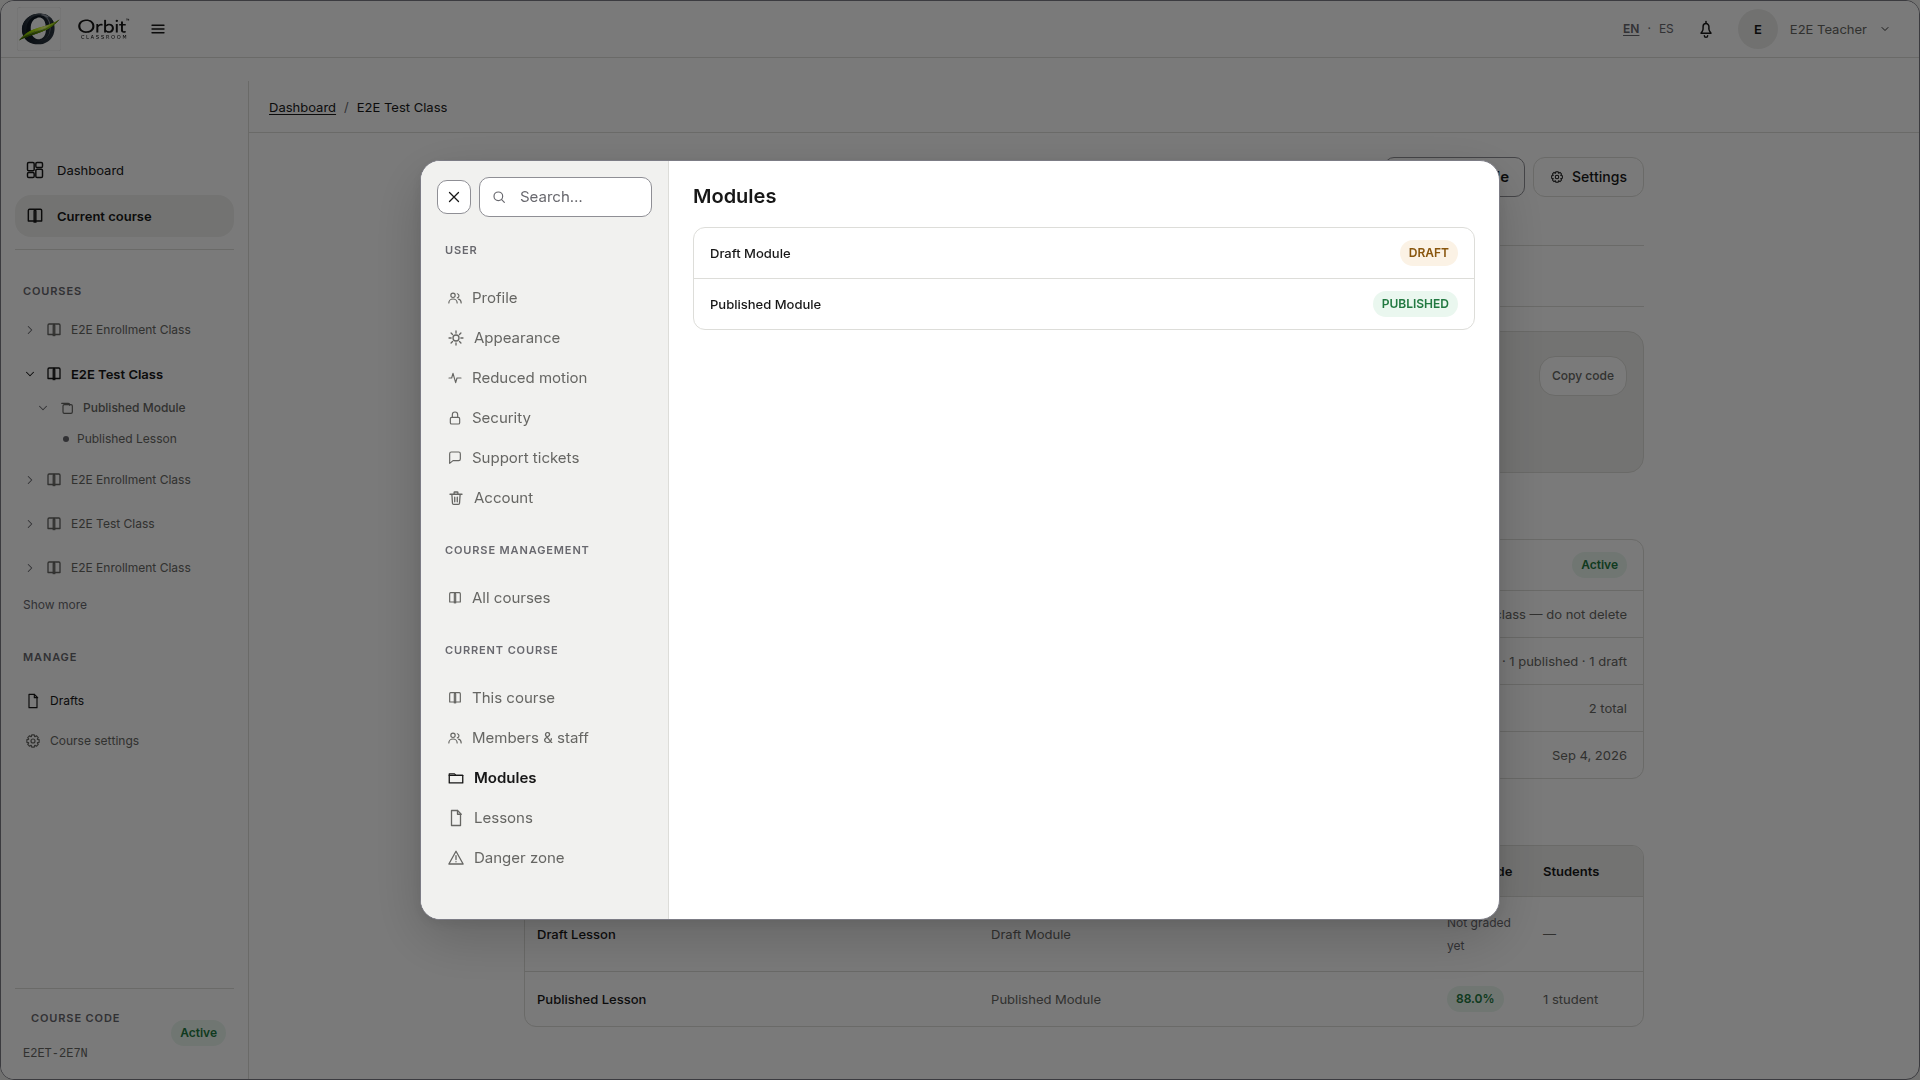
Use Modules and Lessons in course settings to edit, reorder, publish, unpublish, or delete course structure. Draft content stays out of student navigation until its required ancestors are published.
Use the material and assignment status controls to review processing, retry supported failures, edit metadata, publish or unpublish content, and remove content with confirmation.
Task: use personal settings#
Use the shared Account and Settings guide for profile, password, appearance, reduced motion, support tickets, and account controls.
When to ask for help#
If you cannot manage a class, confirm that you are still assigned to that class as a Teacher.
When reporting a problem, share your role, the affected class or lesson, and a screenshot of the state you see.